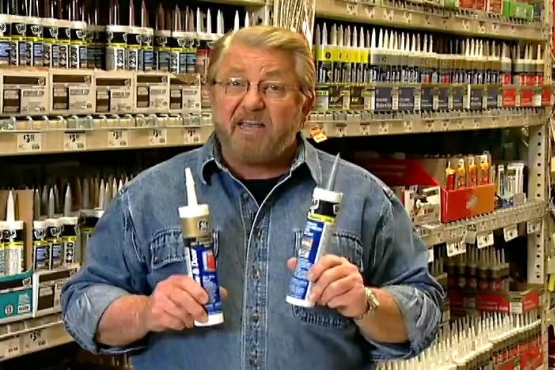
How to Install a Tankless Water Heater
Install a Tankless Water Heater for Hot Water on Demand along with the Savings of Gas over Electricity
Install a tankless water heater when your conventional tank water heater needs replacing because it isn't heating or is clogging your home's water pipes with debris. In this project, a clogged kitchen faucet started a home improvement journey through water fixtures and water-using appliances in the house to become a successful adventure into tankless water heating technology--on demand.
Safety Note: The flexible gas supply line for this water heater installation is corrugated stainless steel tubing (CSST). In rare situations, lightning strikes can cause arcing between the CSST and nearby metal conductors (e.g. another piece of metal pipe) causing a rupture in the flexible line. For this reason, all CSST installations must be directly bonded. Bonding uses a heavy gauge wire to safely conduct electrical energy to the ground significantly reducing the chance of arcing.
Read More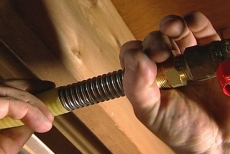
Install a Gas Supply Line for the Tankless Water Heater
Install a T and valve in the existing gas line and run a new corrugated stainless steel supply line for the tankless water heater. Building codes in many communities permit its use rather than conventional black iron for gas lines.
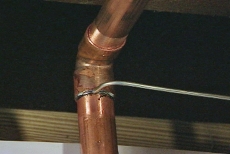
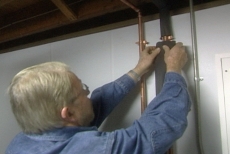
Tie in New Copper Waterlines for the Tankless Water Heater
Tie in new waterlines for the tankless water heater. Bell-hanger brackets hold the pipes in place to prevent contact with the wall and to facilitate applying pipe insulation. Clean copper pipe joints and coat with flux before soldering.
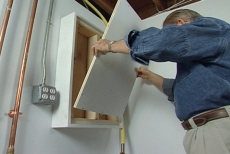
Build a Covered Platform to Position the Tankless Water Heater
Construct a covered vertical platform to position the tankless water heater so its vent clears the floor joists while passing through the outside wall. Secure the platform with Tapcon® screws that cut threads into concrete to anchor themselves.
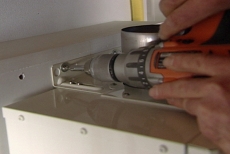
Secure the Tankless Water Heater to the Platform
Hang the tankless water heater on the covered platform. A single screw will hold it temporarily. Secure it by driving screws through the holes on its mounting bracket into the platform.
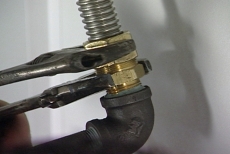
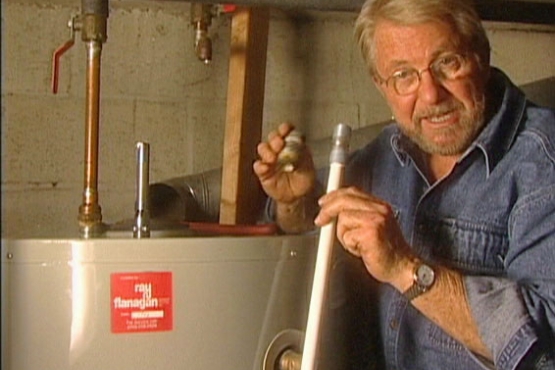
Connect the Gas Shut-off Valve, Sediment Trap and Supply Line
Connect the gas shut-off valve and sediment trap and then attach the corrugated stainless steel supply line. Tighten the nuts at the connections with adjustable wrenches.
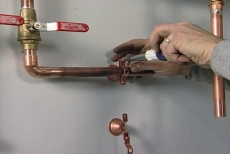
Connect Water Shutoff Valves and the Tankless Water Heater
Make connections between the water shutoff valves and the tankless water heater. Use bell-hangers to support the pipe runs. Solder the joints on the copper piping.

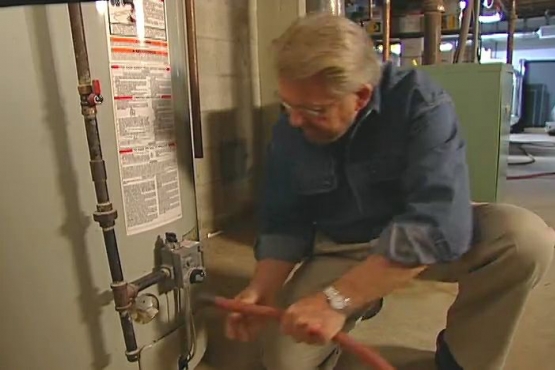
Use a Gas-sniffer to Confirm There Are No Gas Leaks
Turn on the gas and bleed the air from the line. Use a gas-sniffer device at each joint to confirm there are no gas leaks in the tankless water heater installation.
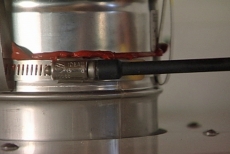
Attach Heater Vent Piping, Connectors and Elbows
Apply heat-resistant silicon sealant to the heater vent. Slip-on a connector and secure it with a hose clamp. Add and secure sections of vent pipe and elbows. Bore through the outside wall at the center of the vent hole.
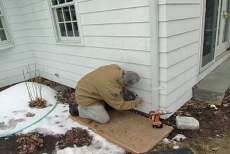
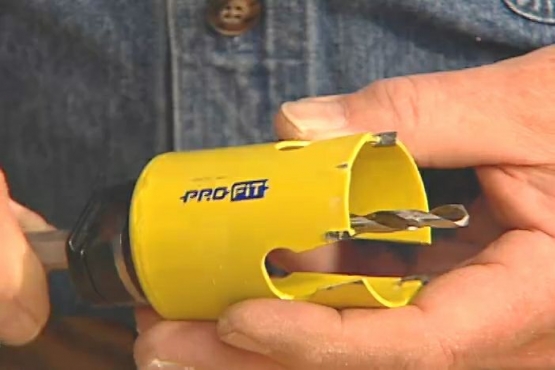
Install the Metal Wall Thimble through the Outside Wall
Trace the metal wall thimble and cut away the outside wall. Remove shingles as necessary for the thimble to rest against the wall sheathing. Install exterior and interior portions of thimble. Add remaining components of vent piping.
Plug Electric Power to the Water Heater and Insulate Pipes
Plugin the tankless water heater unit to supply electrical power to its thermostat and onboard microprocessor. Protect the hot water pipes with pre-shaped pipe insulation. Turn on the gas and press the start button on the heater.
Related Tips
Blog Articles

Expert Tips: How to Mount a TV on the Wall
Get step-by-step instructions on how to mount a TV on the wall, especially for big screen TVs. Master the art of wall mounting with our tips.

Frustrated by Stripped Screws? Here’s How to Get Them Out Fast
We've all been there. You're in the middle of a project, and suddenly your screwdriver spins uselessly in the screw head. The screw is stripped, and frustration sets in. With a little know-how and this simple trick, you can tackle a stripped screw and get your project back on track.

The Secret to Finishing Plywood Edges
Plywood projects are fantastic, but exposed edges can be an eyesore. This blog post unveils the magic of edge banding - a simple technique to create flawless, finished edges on your plywood projects, making them look professional and ready for paint or stain. Watch the video to learn how to apply edge banding like a pro!


