How to Build a Cornice Box and Crown Molding
Add Crown Molding to Disguise a Crooked Joint, but Build a Cornice Box to Hide a Steam Pipe
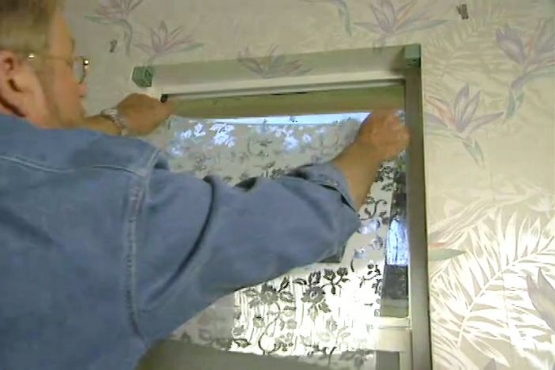
Take care of a 150-year old monument caretaker's house and protect the curtains as you build a birch plywood cornice box to hide an ugly steam pipe. New crown molding ties the cornice box to the room and covers unsightly seams at the ceiling. The result maintains the old-fashioned character and makes the room "as good as old."
Begin to Build a Cornice Box by Determining Its Length
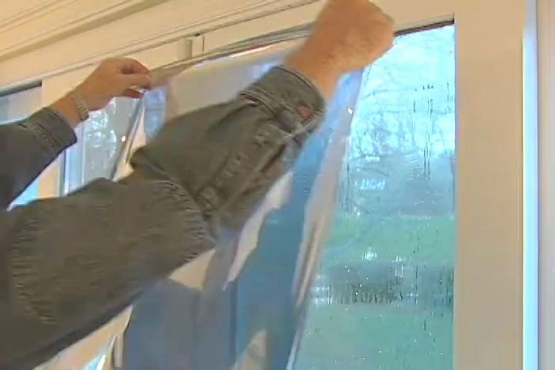
Mark a line at the approximate end of the cornice box, leaving space between the side of the pipe and the end of the cornice box. We'll build the cornice box from .75 inch birch plywood.
Plumb Two Vertical Lines to Build a Cornice Box
Measure the horizontal distance from the window trim to the line--about 5 inches. Use a level to draw vertical lines from the ceiling 5 inches from the window trim to build the cornice box.
Custom Fit Measurements to Build a Cornice Box
Build a cornice box to fit by taking good measurements: ours protrudes 7.25 inches from the wall to clear the pipe and curtain rod. It will reach 12 inches from the ceiling to cover the top of the window frame.
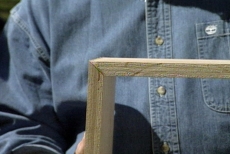
Miter Corners to Build a Cornice Box
Cut panels and angle the ends to build the cornice box with professional-looking corners. Use a compound sliding miter box set to miter the joints at 45 degrees.
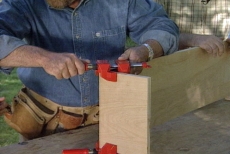
Glue and Nail Joints to Build a Cornice Box
Secure the corner joints with glue and nails to build a cornice box that's structurally strong. Brush on the glue, and then fit and hold the joints together with corner clamps while securing them with 6-penny nails.

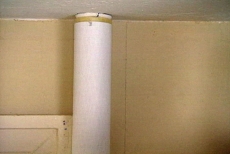
Build the Cornice Box with an Opening for the Pipe
Mark dimensions and use a jig saw to cut out an opening for the steam pipe in the top after you build the cornice box. Add trim strips to dress the bottom edges, securing them with glue and nails.
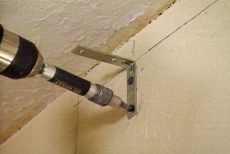
Install Angle Brackets to Support the Cornice Box
Mount 2-inch right-angle brackets to hang the cornice box. Screw the vertical arm of the bracket to a wall stud. Add the cornice and drive screws through the horizontal piece of the bracket through the top of the cornice box.
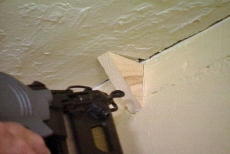
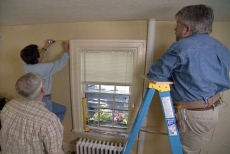
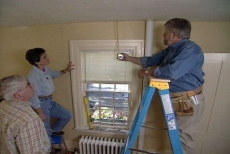
Mount Triangular Blocks to Support Crown Molding
Glue triangular blocks at the ceiling/wall joint with construction cement everywhere a stud is available to provide support for crown molding, and then nail them to the studs. Remove faulty plaster and apply quick-drying patching plaster to even the ceiling.

Miter Crown Molding Placed Bottom-side-up on the Miter Box
Position the crown molding bottom-side-up on the miter box, as if the miter box fence is the wall and its table is the ceiling. Measure the molding along the backside which touches the wall and miter the pieces to length.
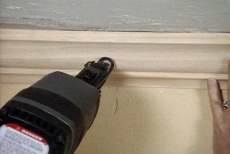
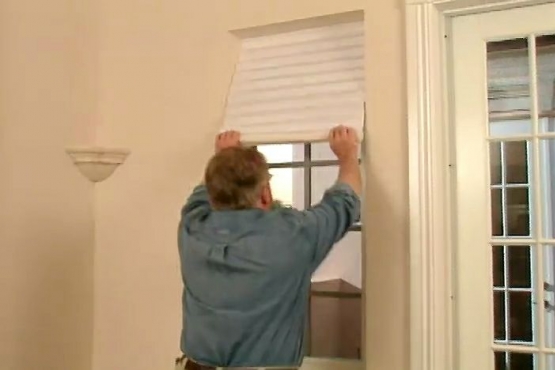
Install Crown Molding over the Triangular Blocks
Mark wooden triangle positions and nail through the crown molding into the blocks. After spackling nail holes, allow them to dry and then sand. Caulk any gaps between the top of the crown molding and ceiling before painting.
Related Tips

Blog Articles

Maximize Your Yield with DIY Netting for Strawberry Beds
Keep your strawberries safe from pests with our DIY strawberry cage netting solution. Learn how to create sturdy frames and find the best netting for your strawberry plants.

Change It Up: Swapping Out Your Light Switch Plates
Tired of boring light switch covers? Upgrade your home decor with this simple guide on replacing light switch plates and make a statement in every room.

Revamp Your Outdoor Space: How To Stencil A Concrete Patio
Learn how to create a stunning patterned concrete patio with our easy-to-follow instructions for stenciling. Upgrade your outdoor space in no time.


