How to Pre-Finish Wood Trim
Learn how to pre-finish crown molding, bead board and other wooden trim before installation.
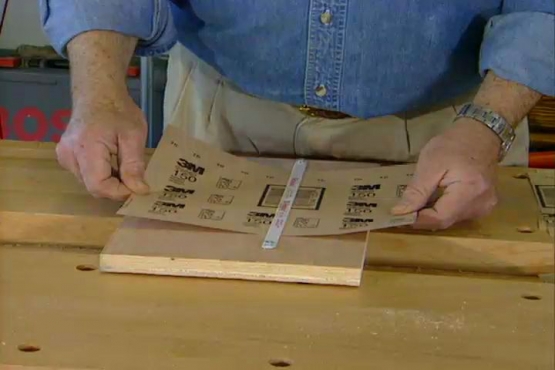
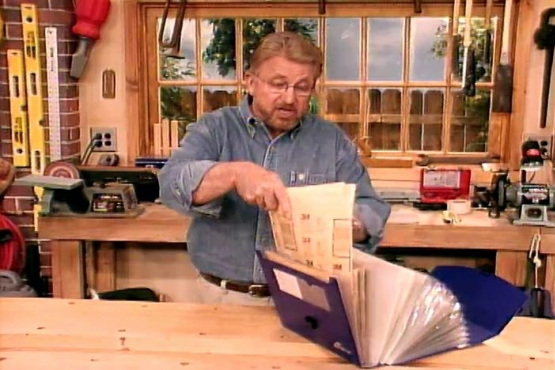
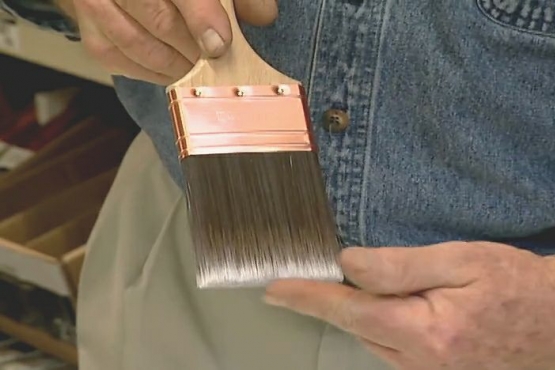
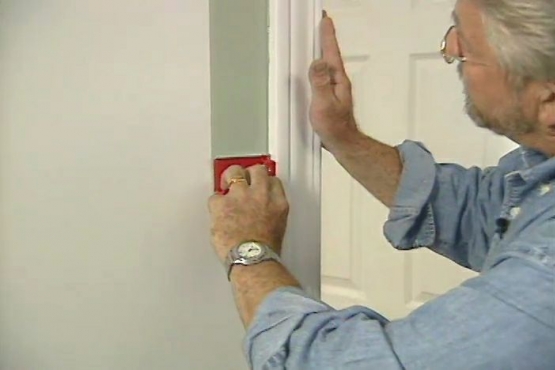
Pre-finishing new wood trim such as crown molding, baseboards, bead board, and chair rails before attaching it to the wall has a number of benefits. Among those advantages are minimizing fumes by working in a well-ventilated workshop or garage, applying the finishes while you stand upright at a convenient work surface, and eliminating the likelihood of smudging painted walls or dripping on interior floors. You can apply multiple coats of stain and topcoat and allow them to dry at your convenience, thus keeping your interior living space clutter free until you are actually ready to install the trim. Nail holes present no problem, because they can be touched up with a wax finishing pencil that makes no mess whatsoever. Add the potential of using water-based finishing projects for easy soap and water clean up, and the entire project goes quickly and efficiently.
Related Tips

Blog Articles

Expert Tips: How to Mount a TV on the Wall
Get step-by-step instructions on how to mount a TV on the wall, especially for big screen TVs. Master the art of wall mounting with our tips.

Frustrated by Stripped Screws? Here’s How to Get Them Out Fast
We've all been there. You're in the middle of a project, and suddenly your screwdriver spins uselessly in the screw head. The screw is stripped, and frustration sets in. With a little know-how and this simple trick, you can tackle a stripped screw and get your project back on track.

The Secret to Finishing Plywood Edges
Plywood projects are fantastic, but exposed edges can be an eyesore. This blog post unveils the magic of edge banding - a simple technique to create flawless, finished edges on your plywood projects, making them look professional and ready for paint or stain. Watch the video to learn how to apply edge banding like a pro!


