How to Put Recessed Shelves in a Wall
Build Individual Wood Cabinets or Open Shelves between Existing Wall Studs as Custom Recessed Shelving
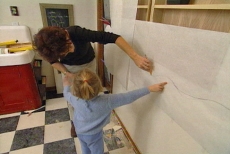
Simplify building recessed wooden wall shelves by constructing custom shelving that fits in the spaces between existing wall studs without requiring stud removal. These DIY shelves turn obstacle into opportunity, even in a load-bearing wall. Mark the studs and cut out the sheetrock with a hand tool to avoid damaging electrical wiring and pipes lurking unseen behind the wall.
Read More
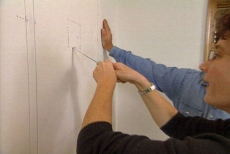
Locate Wall Studs and Mark Their Edges as Cut Lines
Use an electronic stud finder to locate/mark left and right edges of studs. To confirm, move in 1/4-inch increments and drive the tip of a small nail into the wallboard to differentiate open space from solid stud behind the wall.
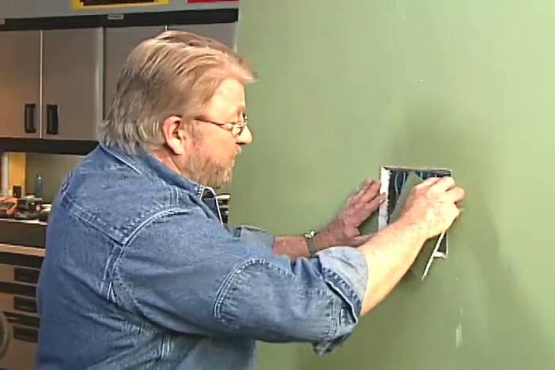
Cut Peep Holes and Excise the Wallboard Panels for Shelving
Use a hand-held wallboard saw to cut peep holes to expose wires and pipes. Angle the edges inward at 45 degrees to prevent the cutout from falling inside the wall. Excise the larger panels for each shelf with straight edges.
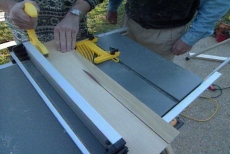
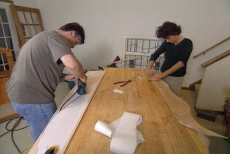
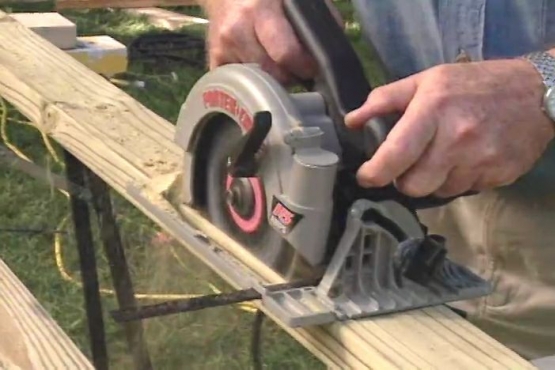
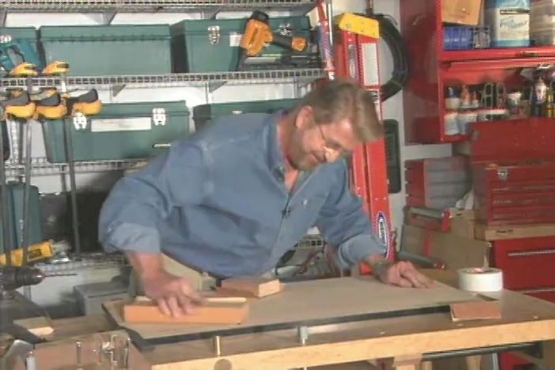
Rip Shelves and Rim for the Custom Shelving Cabinets
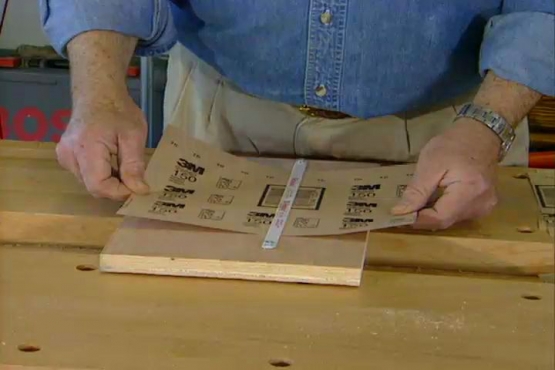
Cut wood for the shelves and rim of the cabinet using a table saw to rip them to the correct width. Cut them to length with a chop saw or other power saw that facilitates straight cuts.
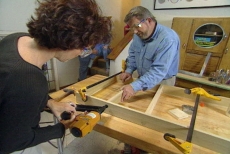
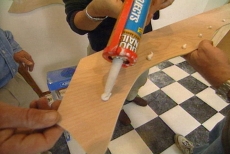
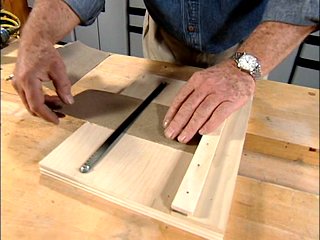
Mark Shelf Positions on Rim/Side Pieces of Cabinets
Align the sides for each shelf unit and custom-position each shelf prior to marking the tops and bottoms of each. Apply glue, clamp the horizontal shelves inside the rim pieces, and secure with a pneumatic nail gun. Add the back.
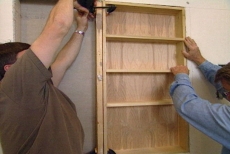
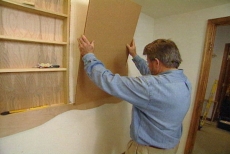
Position the Shelf Unit between the Studs
Test the fit of the shelf unit and position each shelf between the studs. Ensure it is flush with the edge of the sheetrock and temporarily clamp it into position.

Pre-drill Countersunk Pilot Holes for Securing each Shelving Unit
Use shims to keep each shelf level and plumb. Drill countersunk pilot holes through the rim and into the studs. Drive wood screws through the pilot holes.
Make a Paper Frame Template and Tack up Thin Plywood
Position paper around the shelf and draw the decorative shelf frame. Remove the paper. Position and tack up 1/4-inch plywood temporarily--it will be removed in the next step. Frames can be fluid or straight or use stock molding.
Position the Frame Drawing and Cut the Plywood Shapes
Apply a coat of spray adhesive to the plywood and position the drawing for the custom frame on the plywood. Remove each section of paper and plywood as a unit and cut along the drawing with a jigsaw to excise the shapes.
Apply Panel Adhesive to Frame Pieces and Nail to Cabinet
Apply dollops of panel adhesive to the backs of the frame components and correctly position them around the decorative shelf. Secure them with nails driven through the frame into the wall behind.
Mount the Corkboard Panel to the Recessed Shelving Unit
Add dollops of panel adhesive to the back of the corkboard and position it inside the shelving frame after relocating outlets and patching peep holes as necessary. Add the last piece of trim to cover the edges.
Related Tips

Blog Articles

Creating a Glossy Bar Top Finish: A DIY Guide
Have you ever wanted to elevate the look of your home bar that looks like liquid glass? A glossy bar top can add a touch of sophistication and style to your space. In this DIY guide, we will walk you through the steps to create a stunning glossy bar top that will impress your guests and elevate your home entertainment experience.

Techniques for using Heavy-Weight and Light-Weight Spackle
A ding, small hole, or big scratch is bound to be in almost any home. Whether caused by moving heavy furniture or daily wear and tear, it’s something that is easily repaired. Did you know that there are two types of patching compounds used for repairing holes, dents, and cracks in walls?

Shiplap: The Wood That Says “Welcome Home”
Imagine a cozy cabin nestled in a snowy forest. What's one of the first things you notice? The warm, inviting shiplap walls, of course. Shiplap is synonymous with comfort, wrapping you in its rustic charm and timeless appeal. It's the wood that says, "Come on in, you belong here."


