How to Make Rip Cuts with a Circular Saw
If you've got to cut a very long piece of wood like this to a narrower width but you don't have a table saw, well don't worry, you can do a very good job with a circular saw if you'll follow these suggestions.
Now this happens to be pressure treated lumber. It has a very high moisture content. So for that you might want to select a blade that's designed especially for pressure treated lumber. It has a special non-stick coating that reduces friction as the blade is cutting through the wet wood.
Next, fit your circular saw with an edge guide like this one right here. It slides along the edge of the lumber giving you a uniform cut from one end to the next. Third, be sure the blade depth is set so that the blade just goes barely through the wood, maybe about a quarter of an inch. And then put scrap pieces of lumber on the sawhorse so that you can cut right through. This way, you're all set to make a cut from one end of the board, all the way to the next just like this.
Using the right blade and the right setup will turn any long rip into a zip.
Blog Articles
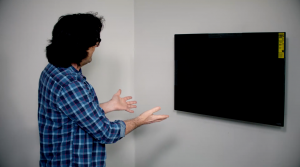
Expert Tips: How to Mount a TV on the Wall
Get step-by-step instructions on how to mount a TV on the wall, especially for big screen TVs. Master the art of wall mounting with our tips.
Frustrated by Stripped Screws? Here’s How to Get Them Out Fast
We've all been there. You're in the middle of a project, and suddenly your screwdriver spins uselessly in the screw head. The screw is stripped, and frustration sets in. With a little know-how and this simple trick, you can tackle a stripped screw and get your project back on track.
The Secret to Finishing Plywood Edges
Plywood projects are fantastic, but exposed edges can be an eyesore. This blog post unveils the magic of edge banding - a simple technique to create flawless, finished edges on your plywood projects, making them look professional and ready for paint or stain. Watch the video to learn how to apply edge banding like a pro!


