Make Your Own Closet through A Few Easy Steps
Build a Closet into the Space of an Existing Alcove by Adding Simple Framing and Doors
Transform a three-walled alcove into a built-in closet for extra storage space. In a finished house, remove the baseboard molding from the alcove and lift any carpet to expose the floor. Modify the surrounding walls by adding bottom plates and top plates, wall studs and a jamb as the structural components to extend the sheetrock and hold new doors.
Read More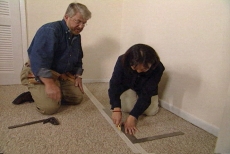
Remove Carpet and Baseboard Molding from the Alcove
Cut and remove carpet with a utility knife to expose the full closet floor. Loosen and remove the molding with a wide putty knife and a small pry bar. Salvage these pieces to replace them after completing the closet.
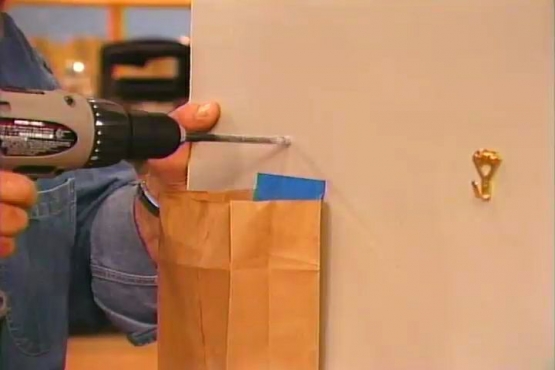
Cut Bottom and Top Plates to Measure and Secure Them
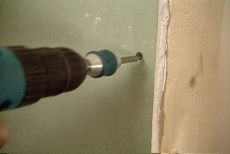
Cut bottom and top plates from a two-by-four. Use a masonry bit to pre-drill the concrete closet floor and insert lag shields before securing the bottom plate with lag bolts. Screw the top plate to the header with wood screws.
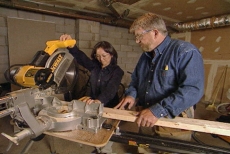
Cut Two-by-fours to Fit between the Top and Bottom Plates
Use a tape measure to determine the precise distance between the top and bottom plates and cut wall studs from two-by-four lumber. Use a chop saw to make straight cuts on each end.
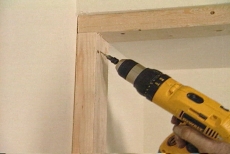
Secure the Walls Studs between the Top and Bottom Plates
Secure studs between the top and bottom plates, against the existing wall and at the opposite end of the plates. Pre-drill countersunk pilot holes to secure them with drywall screws. Add a horizontal brace between the studs to add rigidity.

Measure Framing and Cut Wallboard to Fit
Transfer framing measurements to sheetrock with a pencil and score along the mark with a sharp utility knife. Turn the wallboard over and break along the cut. Cut through the backing along the fold.
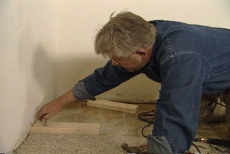
Measure Framing and Cut Wallboard to Fit
Place the sheetrock against the outside of the framing, butting one edge against the existing wall. Drive the screws into the sheetrock far enough that the heads are below the surface but do not tear the paper.
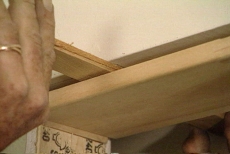
Install the Door Jambs after Leveling Them with Shims
Ensure the closet stub walls are vertical and the header is level. Use shims to level the door jambs, if necessary, and nail through the jambs and shims into the door frame. Score the shims and break off the excess.
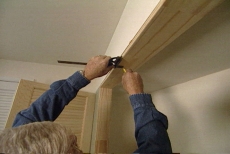
Measure and Add Molding for a Door Stop
Measure the closet door thickness and transfer the measurement to the door jambs with a pencil and combination square. Use a pneumatic nail gun to nail narrow strips of molding along the marks to prevent the doors from opening inward.
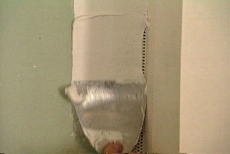
Dress the Joints between the Walls and Door Frame
Seal joints between old and new walls with self-sticking perforated joint tape. Apply joint compound with a putty knife to form a seamless surface. Cut and install mitered door casing to cover the gap between the wall and door frame.
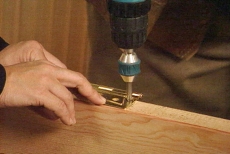
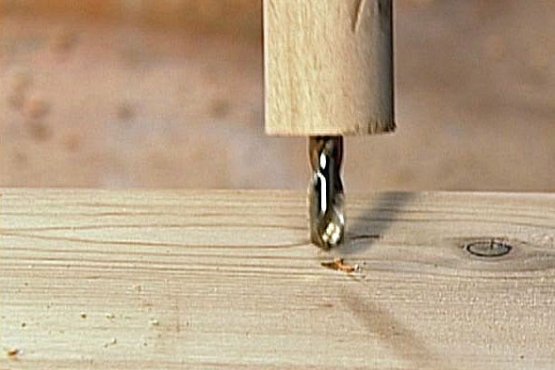
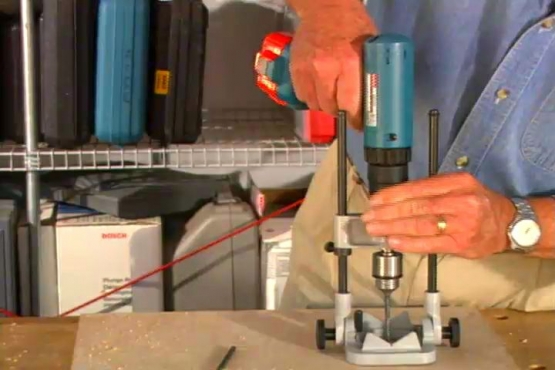
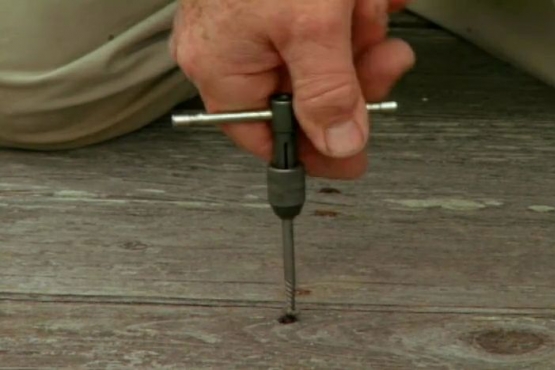
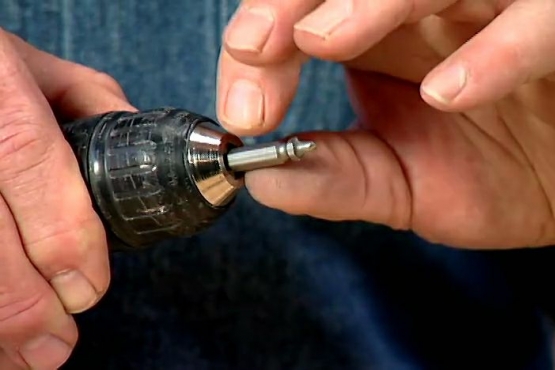
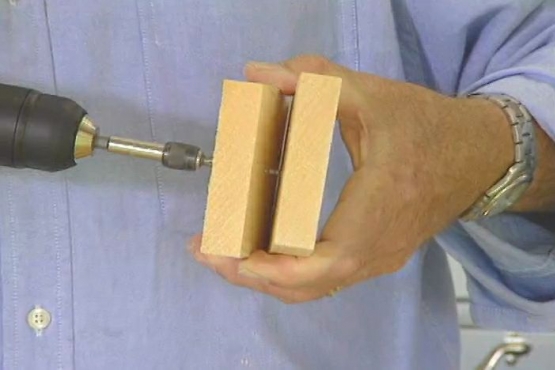
Use a Self-centering Drill Bit to Drill for Non-mortised Hinges
Position non-mortised hinges on the closet doors and use a self-centering bit to pre-drill for the screws. Secure the hinges to each door and then drive additional screws through the hinges and into the door jambs.
Related Tips


Blog Articles

Expert Tips: How to Mount a TV on the Wall
Get step-by-step instructions on how to mount a TV on the wall, especially for big screen TVs. Master the art of wall mounting with our tips.

Frustrated by Stripped Screws? Here’s How to Get Them Out Fast
We've all been there. You're in the middle of a project, and suddenly your screwdriver spins uselessly in the screw head. The screw is stripped, and frustration sets in. With a little know-how and this simple trick, you can tackle a stripped screw and get your project back on track.

The Secret to Finishing Plywood Edges
Plywood projects are fantastic, but exposed edges can be an eyesore. This blog post unveils the magic of edge banding - a simple technique to create flawless, finished edges on your plywood projects, making them look professional and ready for paint or stain. Watch the video to learn how to apply edge banding like a pro!


