RON HAZELTON:
I'm on my way to visit some friends in Hopsville, Massachusetts. Olof and Kristen Krog[?]. They've got a built-in bookcase that they're not too happy with. They don't want to take it out, but they want to make it look a lot better than it does right now. I'm going to see if I can help out.
A number of 18th century homes still stand here, including this one, the site of today's HouseCall. Built in 1761, it now belongs to Olof and Kristen Krog and their sons Christian and William. Olof and Kristen have been restoring the dwelling's original Colonial character, but they're stumped about what to do with this contemporary built-in bookcase, installed by a prior owner.
KRISTEN:
While they didn't have bookcases in those days, it still would be nice to make some of the details fit with the fireplace a little bit better.
OLOF:
We really hate these metal strips. So anything we can do to get rid of those.
RON HAZELTON:
Well, I think it's a good candidate for what I might call adding some, some age and some character. We might start by making these shelves look a little bit thicker. They probably would have been in an older piece like this.
And then back here, how would you feel about putting something like beadboard on here. Something to give us a little bit of detail.
RON HAZELTON:
Yeah. And I don't know, I'm thinking something very, very simple in a, in a crown molding up here at the top. Nothing ornate.
KRISTEN:
Right.
RON HAZELTON:
And you know, what we might do over here on the end. In order to -- well here, right here, see how this sort of panel look in here? This is the way they used to do it. They didn't have plywood, so they put a solid piece of wood inside a frame like this.
I think if we added some flat strips right here to create that effect or that look, be a nice detail for the end of it. So you've got to catch a plane, I know.
KRISTEN:
I do, I do. So it's in your hands.
RON HAZELTON:
It's you and me, pal.
OLOF:
Scary.
[LAUGHTER]
RON HAZELTON:
Actually, Olof is an accomplished athlete and good with his hands. He wastes no time launching into step one. Getting rid of the metal shelving tracks that he hates so much. Our next step is to remove the old molding to make way for the crown molding we'll make and install later.
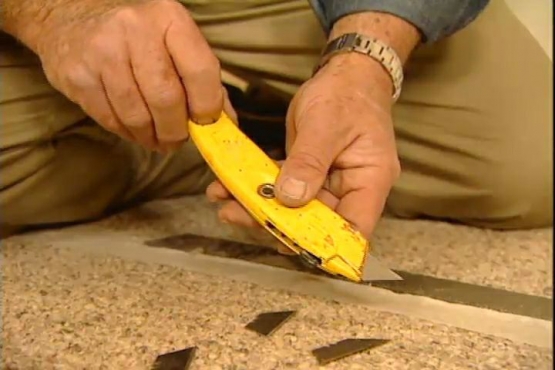
Olof runs a utility knife along the edge to cut through the paint, which makes the molding easier to remove and reduces the chance of chipping the ceiling paint.
Okay, that's good, that's good. Now let's pry this off, off into right in here, I think. Just kind of work your way down there and pop right off. There we go --
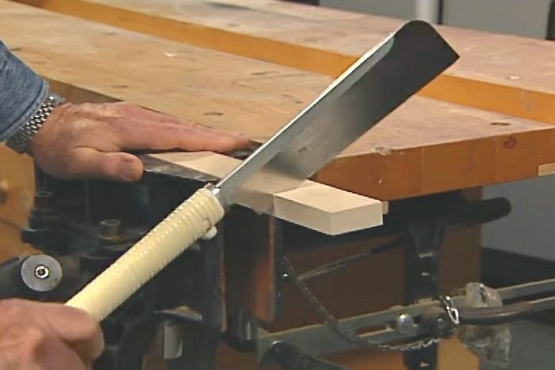
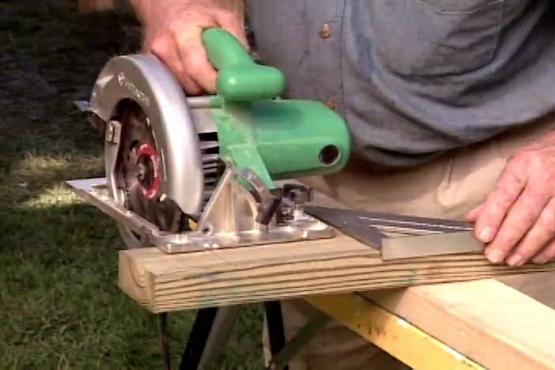
Now we're also going to change this rounded edge on the countertop. So Olof cuts through it with a small portable circular saw. Since the blade can't quite cut all the way to the wall, I complete the cut with my Japanese handsaw.
Okay.
OLOF:
There we go.
RON HAZELTON:
There we go. This is the beadboard. Kind of like that?
OLOF:
That's beautiful.
RON HAZELTON:
It's going to look very nice. We'll put this up in two sections or two pieces, Olof. So let's, let's just lay it down here, first of all.
We apply wood glue to the back of the beadboard, which has already been cut to length.
Put the bottom -- actually, we're going to have to tuck, tuck the top in first to get behind the base frame and then all the way down to me. Okay -- then just push the bottom -- there. Okay, let's glue up our second panel here.
OLOF:
Okay. Is this the giant slalom or -- parallel racing?
RON HAZELTON:
Oh, do parallels.
OLOF:
All right.
RON HAZELTON:
Slalom. That a Norwegian home improvement term?
OLOF:
It is. We've got -- you know, a lot of important words like that for --
RON HAZELTON:
Actually you're a very good skier, aren't you?
OLOF:
Well, growing up in Norway, you kind of have to be. Not all that else to do during the winter.
RON HAZELTON:
To hold the beadboard in place while the glue dries, we'll use our portable pin nailer to tack it into place. This one actually has its own on board compressor.
Now once you clamp them together, here are two pieces of half inch plywood. These are going to be in panels up there. It will -- will cover up the ends where those old tracks were. and I'll plant them together because I want to drill a series of holes in these, into which we'll put wooden pegs eventually for shelf supports.
We've clamped the two end panels together because it's essential that the holes into which the shelf support pins will be inserted, line up exactly. This portable drill press insures that the holes will be drilled perfectly straight.
There we go. Two end panels.
OLOF:
Kristen's going to be really happy about this. I told her this was going to be too complicated.
RON HAZELTON:
After I apply the glue, Olof sets the end panels into place and then secures them with nails.
Remember we cut that rounded edge off the countertop here. What I'm thinking is that we put this on instead. If you just want to grab the end of that.
This strip of one by two applied to the edge of the counter, will give the cabinet more of a period look. For a more finished corner, we miter the front section. Olof nails the strip into place. Then we cut a matching miter on the side piece and install it as well. Next, we move outdoors to create our crown molding.
So we're going to make our own crown molding out of some of this. This is just plain one by four pine. And we're going to do it by tipping the blade at an angle like that and just passing this through.
We run each board through the table saw four times, cutting off its corners. The result is a very basic crown molding that fits the home's Early American style.
Well, let's see how this fits, and more importantly, whether you like the looks of it or not.
OLOF:
Looks beautiful.
RON HAZELTON:
It's a crown but very very simple. Now we're going to cut a miter over here too, but it's going to be a little different from the last one we cut. Instead of cutting this lying flat on the sawbed, I'm going to tip this up and we're going to hold it up in the position, the same position it would be installed in.
And if you'll go ahead and make your cut there.
With the work piece tipped like this and the blade set to 45 degrees, we'll end up with more than a simple miter.
Great, okay. Now we've got a compound angle, which means two angles. We've got one angle running this way and a second angle running down the face.
We install the crown molding with our portable pin nailer. The compound miter's allowed the trim to wrap seamlessly around the corners. Next, we add some detail to the side of the cabinet by applying flat strips of wood to create a paneled look. Finally, we finish off the bottom by adding a simple baseboard.
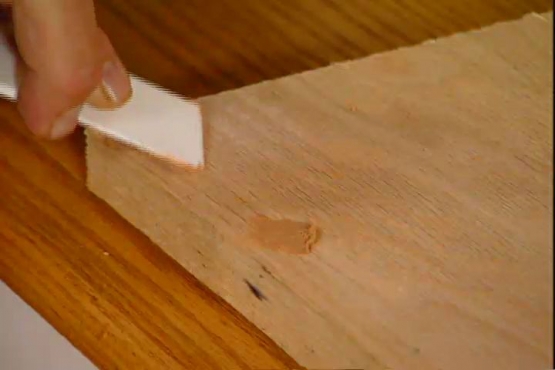
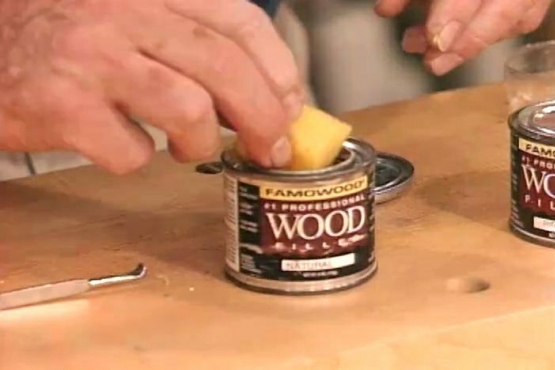
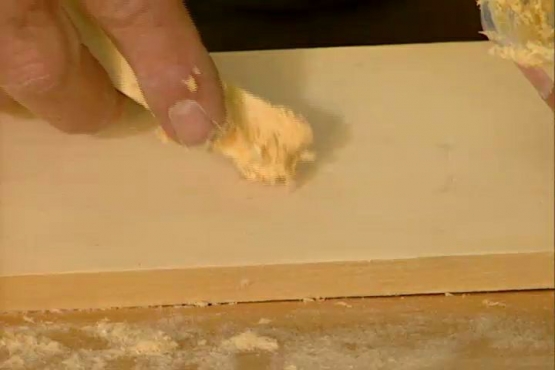
Olof then conceals the nail holes with wood filler.
Here's how we're going to make these existing shelves look a little bit thicker, by adding this piece of one by two to the front.
This edging will also add strength, keeping the shelves from bending or deflecting when weight is put on them. Before adding the edging, we trimmed a bit off the front of each of the shelves. As a result, the shelves are no deeper than they were originally.
Olof inserts short pieces of wood dowel into the end panels and our shelves are ready to slide into place.
Ah, nothing like the sound of wood on wood, huh? What do you think?
OLOF:
Like that a lot better than those metal things.
RON HAZELTON:
All that's left is some sanding, a couple of coats of paint and this job is history.
You know, I have a feeling I'm going to be doing the next project with your son.
OLOF:
That's good.
RON HAZELTON:
Well, Kristen's not here, I kind of think she's going to like this.
OLOF:
I know she's going to like it. I like it a lot.
RON HAZELTON:
It looks like it's been there for a while. Really kind of goes with the house. And somehow that crown molding that we put up there really attaches it to the ceiling in a way that makes it look really built in for me. I'm pleased.
OLOF:
Yeah, I, I love it. Nice clean lines.
RON HAZELTON:
I guess you could call this a reverse face lift -- making the new look old. With a few simple steps, we've turned this cabinet misfit into an eyecatching complement to this historic New England home.