How to Build a Kitchen Breakfast Nook or Banquette
Build an Attractive Breakfast Nook in a Corner of Your Kitchen
Construct a simple corner bench in the kitchen to pair with a table as a breakfast nook and children's craft area. Use two-by-fours for the base frame and MDF board for back and side panels and for the seats. Provide access to storage inside the bench by installing the bench seats with piano hinges that transform the seats into lids.
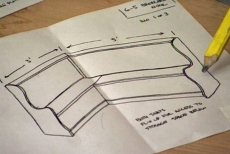
Plan the Dimensions of Your Corner Breakfast Nook
Draw a simple diagram of your corner bench designed to fit neatly into the available wall and floor space and balance its practical size against existing kitchen fixtures.

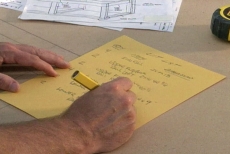
Determine Proportions for the Height and Depth of the Bench
Measure a comfortable chair. Match your bench proportions to the height of its seat from the floor and the depth of its seat from the back to the front edge where your knees will bend.
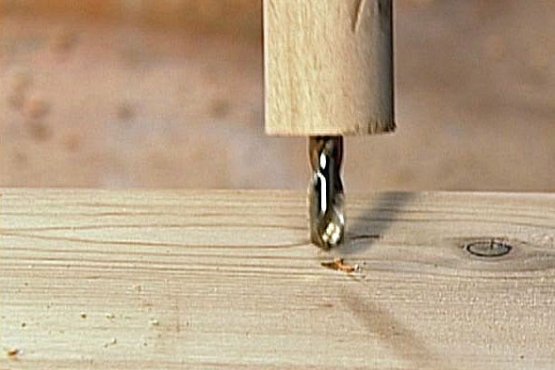
Inventory All Required Frame Pieces and Cut to Size
Make a cut list for the wooden components for the bench, noting the number of pieces of a given dimension. Cut the two-by-four components of the frame to size for both seat bases. Cut all the pieces except the panels.
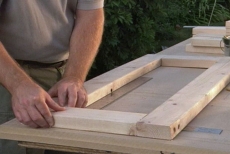
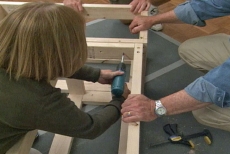
Lay out the Cut Pieces and Begin Assembling the Frame
Arrange the pieces for the frame bottom and apply glue to adjoining surfaces. Insert deeply countersunk screws to attach them securely. Repeat for the other frame components and complete both seat bases.
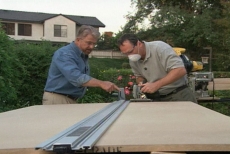
Cut the Medium Density Fiberboard Panels to Cover the Frames
Support the fiberboard on two-by-fours, using a circular saw to cut the panels to cover the frame. The two-by-fours prevent the cut pieces from moving and pinching or binding the blade. Guide the cuts with a clamping straight-edge.
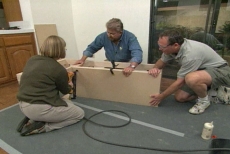
Join the Two Seat Bases together with Screws
Carry the individual seat frames to the kitchen before joining them. Position the frames for the two bases in an L-shaped configuration and join them securely with long screws.
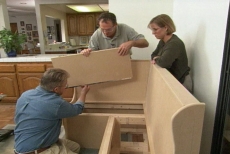
Secure the Front Panels with Glue and Nail Gun
Apply glue to the front panels and clamp them in place. Secure them with a pneumatic nail gun, driving the nails through the panel into the framework behind.

Attach Back Supports and Wedges to Angle the Backrest
Attach the two back supports, applying glue and clamping the pieces in place before securing them with screws. Nail long wedges on the supports to provide a gentle and more comfortable angle for the backrest panel. Secure the backrest
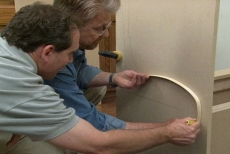
Draw the Curved Side Panels Using One as a Template
Trace a wooden strip to draw the first curved side panel. Cut with a jigsaw and use that side as a template for the second. Glue and nail the seat backs first, then the side panels and the top trim.
Install the Hinged Seat Lids with Piano Hinges
Attach the hinge to the lid first with countersunk screws and then attach the lid to the base. Use only a few screws until you test the fit. Repeat to install the second lid in the same way.
Related Tips


Blog Articles

Maximize Your Yield with DIY Netting for Strawberry Beds
Keep your strawberries safe from pests with our DIY strawberry cage netting solution. Learn how to create sturdy frames and find the best netting for your strawberry plants.

Change It Up: Swapping Out Your Light Switch Plates
Tired of boring light switch covers? Upgrade your home decor with this simple guide on replacing light switch plates and make a statement in every room.

Revamp Your Outdoor Space: How To Stencil A Concrete Patio
Learn how to create a stunning patterned concrete patio with our easy-to-follow instructions for stenciling. Upgrade your outdoor space in no time.


