How to Build a Custom Workbench
Construct a Modular Wooden Workbench with Three Base Units That Join to Form a Forth Dropped Surface for Your Saw
Build a custom L-shaped workbench of three separate tool benches that join to form a fourth work surface--a dropped well for your miter saw. Construct the base units of two-by four components surfaced with medium-density fiberboard (MDF) that can be replaced easily when scarred and dented beyond use. Use screws, glue, and double-faced tape to secure and join components.
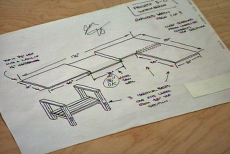
Diagram Your Project and Make a Cut List
Plan your workshop workbench carefully and diagram the dimensions. Make a cut list of pieces to cut, especially when several are the same size. Set up saw horses and lumber as a temporary woodworking bench for cutting components.
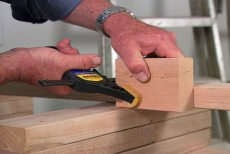
Cut All Components, Measuring against a Stop Block
Transfer the bench leg length onto a two-by-four and clamp a stop block at the mark. Butt each two-by-four against the stop block as you cut to ensure consistent length. Repeat the process for each component of a different dimension.
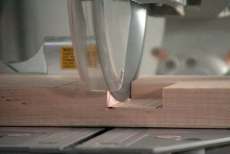
Cut Mortises in Bench Leg Components for Cross Rails
Mark and then position a pair of bench legs for repeated cuts with a sliding compound miter. Cut half-way through each two-by-four to notch out matching mortises across each pair. When joined, the two-by-fours will become four-by-fours with a mortise.
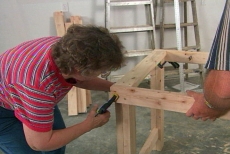
Assemble End Frames from Bench Legs and Cross Rails/Braces
Apply glue to the interior surface of each pair of leg components and their mortises. Sandwich a cross rail between the two and secure with screws. Glue and screw another brace across the top of the end frame.
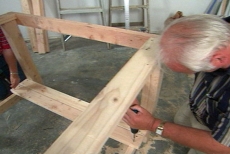
Join Two End Frames with Side Rails for Each Base
Position and clamp together two end frames with two side rails for each workbench base. Attach them at the upper end and secure the rails with screws.
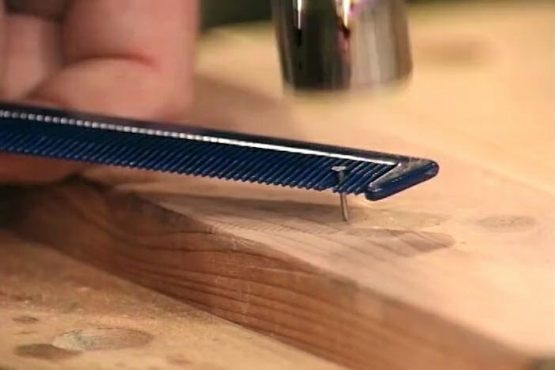
Secure Bottom Braces Side-by-side across the Bottom Rail
Lay multiple bottom braces/planks side-by-side to span the space between the cross rails. Secure each with screws driven through them and into the cross rails beneath to provide structural reinforcement and a handy shelf.
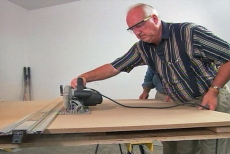
Cut Workbench Tops from Sheets of Medium-Density Fiberboard
Measure and mark cut lines for workbench tops on sheets of 3/4-inch MDF. Use a clamping straight edge and a circular saw to ensure straight cuts every time. Attach tops to the bases with countersunk screws to avoid scratching projects.

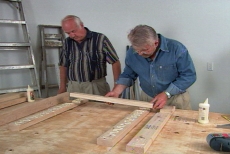
Position Three Workbench Bases in an L-Shape with a Gap
Set bases in an L-shaped configuration, leaving a gap for the well. Span the gap for the well with two-by-four rails and slide in the top. Secure replaceable MDF panels on top of each bench top with double-faced tape.
Related Tips


Blog Articles

Maximize Your Yield with DIY Netting for Strawberry Beds
Keep your strawberries safe from pests with our DIY strawberry cage netting solution. Learn how to create sturdy frames and find the best netting for your strawberry plants.

Change It Up: Swapping Out Your Light Switch Plates
Tired of boring light switch covers? Upgrade your home decor with this simple guide on replacing light switch plates and make a statement in every room.

Revamp Your Outdoor Space: How To Stencil A Concrete Patio
Learn how to create a stunning patterned concrete patio with our easy-to-follow instructions for stenciling. Upgrade your outdoor space in no time.


