Building A Pergola – Learn How to Build an Attached Pergola for Your Patio
How to build a pergola that’s attached to your house. Clear, step-by-step video instructions for building an attached pergola that also shades a patio.
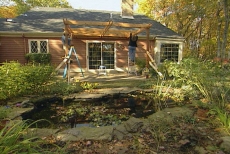
Build a pergola or arbor to serve as a semi-open patio roof. Made of two-by-eight beams, the roof rests on four-by-four posts on one side and attaches to your home on the other. This design uses three layers of interlocking roof beams, but remains open to sky and breeze to offer the best combined features of patio, porch and deck.
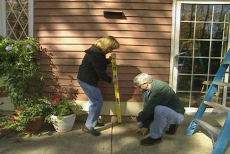
Mark the Pergola Elevation and Width on the House
Mark two perpendicular lines from your home's soffits to the patio to mark the desired elevation of the pergola, spacing them at the same width as the patio's concrete pad. Use a bar level to ensure the lines are vertical.
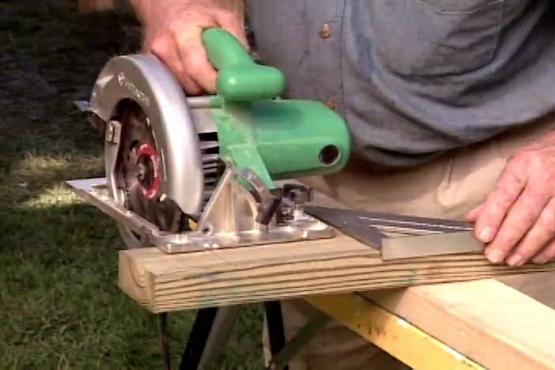
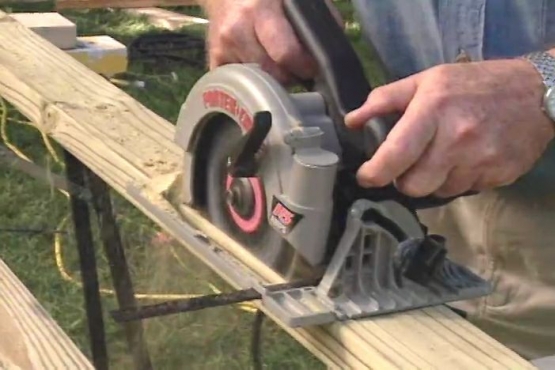
Cut and Notch Three Beams for the First Roof Layer
Cut three two-by-eight beams for the first roof layer that parallels the house. Notch them with a jigsaw to support four of six second layer beams--the other two will butt against the ends of the first layer's beams.

Level, Pre-drill and Attach the Pergola Ledger to the House
Level the ledger and pre-drill holes for lag screws through the ledger, and fascia board into the side of the house. Tighten the lag screws with a ratchet.
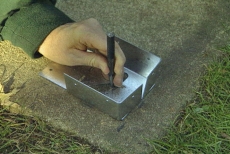
Drill Patio for Post Brackets and Attach with Expansion Anchors
Position the post brackets, marking their centers on the concrete with a hammer and sharp instrument. Drill a hole at each mark, insert an expansion anchor through the bracket into the concrete, and tighten it with a ratchet.
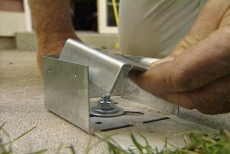
Install Post Supports and Posts to Brackets with Heavy-gauge Nails
Install post supports in the brackets to raise the posts above concrete and moisture to prevent rotting. Hold the posts in vertical position and secure each to its bracket with a hammer and heavy-gauge galvanized nails.
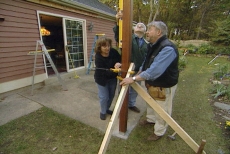
Hold Posts Vertical with Temporary Stakes and Braces
Screw pairs of temporary braces to stakes in the ground and clamp the braces to the posts to keep them vertical in both directions for the remainder of the project. Use a bar level to confirm the posts are plumb.

Screw First-layer End Beams to the Posts
Align and clamp notched end beams in the first layer to the posts at the correct elevation. Pre-drill holes with a countersunk bit. Drive the stainless-steel screws into the beams and posts using a square-ended bit.
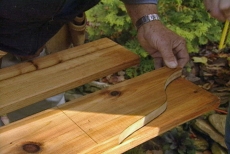
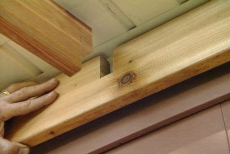
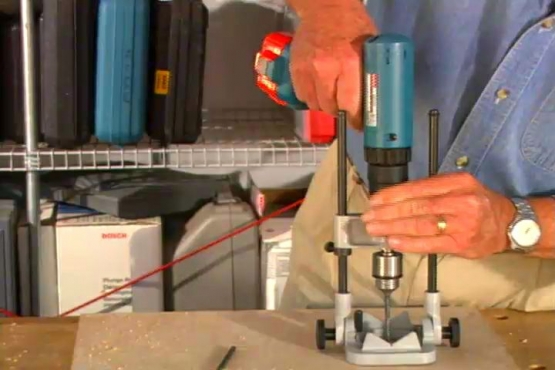
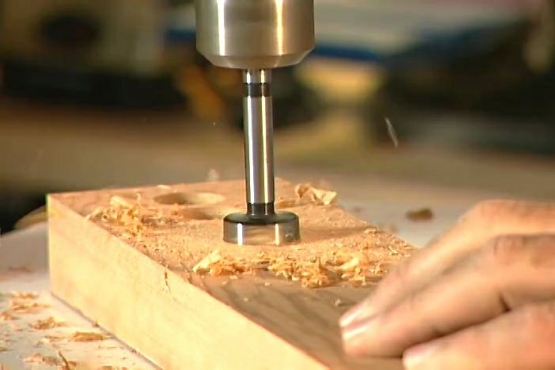
Cut and Curve One End of Six Second-layer Beams
Cut six second-layer beams with a decorative curve on one end. They'll be longer that the depth of the patio and run perpendicular to the house. Notch the bottom edges to interlock with the notches on the first layer's beams.
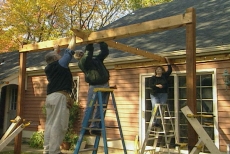
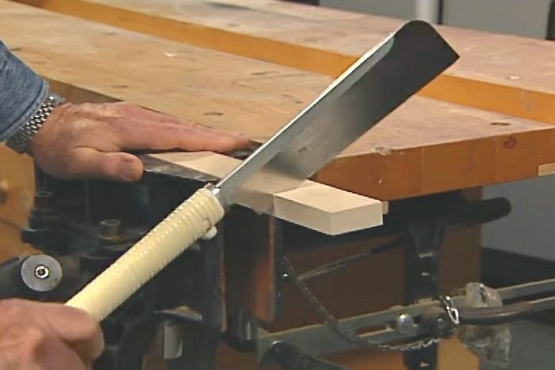
Interlock Layer-Two beams to Layer-One Beams and Trim the Posts
Notch the second-layer beams eight times for the eight beams in the final layer and then interlock them to the first layer. Trim the post tops flush with the top of the beams with a Japanese handsaw.
Cut Eight Third-layer Beams, Notching to Interlock with Beams Below
Cut eight beams with both ends curved for the third/final layer. Cut six shallower notches in the bottom edges to interlock with notches on the second layer. Fit them together and tap with a mallet to seat them.
Related Tips


Blog Articles

Maximize Your Yield with DIY Netting for Strawberry Beds
Keep your strawberries safe from pests with our DIY strawberry cage netting solution. Learn how to create sturdy frames and find the best netting for your strawberry plants.

Change It Up: Swapping Out Your Light Switch Plates
Tired of boring light switch covers? Upgrade your home decor with this simple guide on replacing light switch plates and make a statement in every room.

Revamp Your Outdoor Space: How To Stencil A Concrete Patio
Learn how to create a stunning patterned concrete patio with our easy-to-follow instructions for stenciling. Upgrade your outdoor space in no time.


