How to Build an Outdoor Shower Enclosure
Add a DIY Shower Enclosure for Privacy When Slipping out of Wet and Sandy Beachwear in Your Outdoor Shower Area
Leave salt, sand, wet swimsuit and unwanted audiences outside while you change comfortably in the privacy of your DIY outdoor shower enclosure. Two layers of slats maintain ventilation while obscuring the view from wandering eyes. Build this project from stock materials and mount it to an existing concrete shower area in an attractive design that won't test your comfort level.

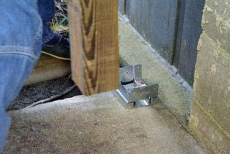
Secure Five Metal Post Bases to Concrete with Expansion Anchors
Mark depth on a masonry bit with tape and drill uniform holes for post bases positioned 1/2-inch inward from the perimeter of the concrete shower pad. Set bases, tap in expansion anchors, and secure with washers, nuts and ratchet.
Cut and Secure Four-by-Four Posts to the Five Post Bases
Straight-cut the bottom ends of five four-by-four treated posts--you will level and cut the tops once they are mounted. Position and ensure each post is plumb while you secure it with galvanized 10-penny bracket nails to its base.
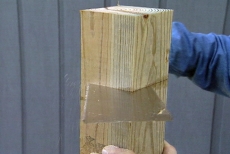
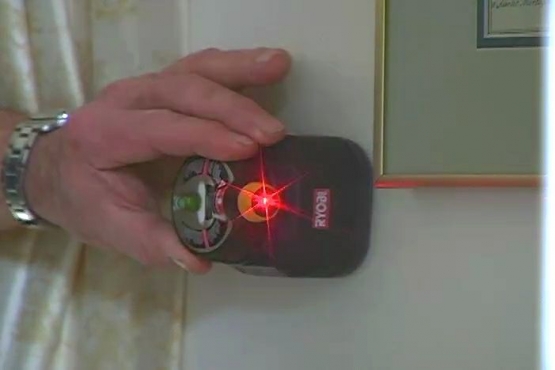
Cut Post Tops at Uniform Cut Lines with Japanese Handsaw
Use a bar level and pencil to measure/mark a uniform and level cutline on the post tops. Trim off the excess with a Japanese handsaw, being careful to keep each cut parallel on its cut line.
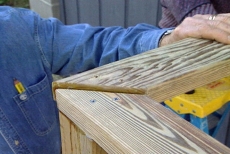
Cut and Attach Mitered Two-by-fours to Tie Posts Tops together
Miter four two-by-fours to length on their flat sides for mitered corner joints on the shower enclosure's four upper corners. Pre-drill screw holes and coat the post tops with waterproof polyester glue prior to securing the two-by-fours in mitered joints.
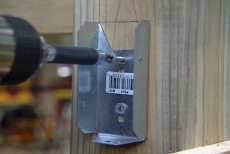
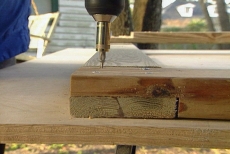
Level and Attach Metal Brackets for Two-by-four Crossbars
Ensure uniform elevation with a bar level and attach brackets for two-by-four crossbars/braces between the posts. The cross bars will provide additional structural support and rigidity as well as a nailing surface for the face planks in a later step.
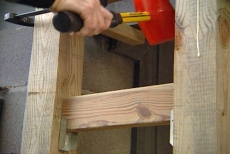
Seat Two-by-four Crossbars in Brackets with a Plastic Mallet
Drop a two-by-four crossbar of exact length into each pair of brackets and seat each snuggly in its bracket by tapping with a plastic mallet. Drive rust-resistant screws through the brackets and into shower surround posts with a power driver.
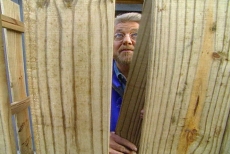
Test Plank Spacing and Nail to Both Sides of Enclosure
Tack up one-by-six treated pine facing boards temporarily to test staggered spacing inside and outside the frame and completely obscure view from the outside. Pre-drill pilot holes and attach planks permanently with rust-resistant deck screws and a pneumatic nail gun.
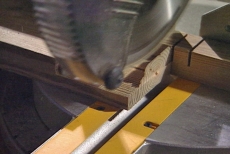
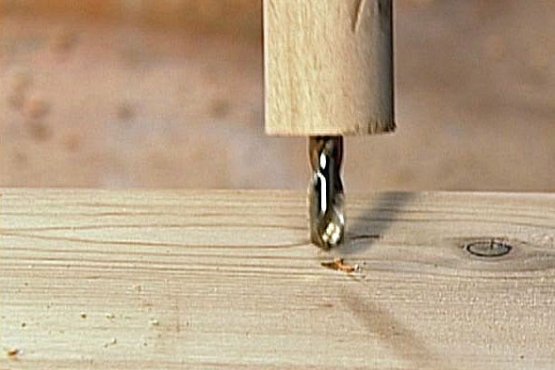
Cut Half-lap Joints in Two-by-fours for Enclosure Door Frame
Use a sliding compound-miter saw to cut half-lap joints in two-by-fours for the shower surround's door frame. Adjust the saw to cut only half the thickness of the two-by-four and reposition repeatedly to slice away 1/8 inch at a time.
Assemble the Door Frame and Its Facing Boards
Assemble the door frame first, ensuring it is square as you pre-drill, glue, and then secure the half-lap joints with screws. Add crossbars and attach one-by-six facing boards to match the rest of the shower enclosure.
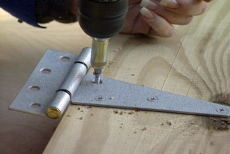
Secure Heavy-duty Door Hinges and a Door Stop
Space equally and secure hinges along one edge of the door for maximum support. Rest the door temporarily on support blocks while positioning and securing the hinges to the shower surround wall. Add a door stop on the opposite side.
Related Tips


Blog Articles

Maximize Your Yield with DIY Netting for Strawberry Beds
Keep your strawberries safe from pests with our DIY strawberry cage netting solution. Learn how to create sturdy frames and find the best netting for your strawberry plants.

Change It Up: Swapping Out Your Light Switch Plates
Tired of boring light switch covers? Upgrade your home decor with this simple guide on replacing light switch plates and make a statement in every room.

Revamp Your Outdoor Space: How To Stencil A Concrete Patio
Learn how to create a stunning patterned concrete patio with our easy-to-follow instructions for stenciling. Upgrade your outdoor space in no time.


