How to Install a Garage Door Opener
Installing an Electric Garage Door Opener Makes Exiting and Entering Your Garage Safer and Easier
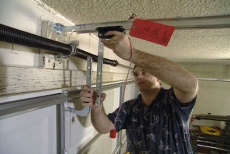
Installing a garage door opener makes using your garage easier and safer. Mounting the automatic garage door opener is not complicated, but it is physically easier with two people. Prior to installation, perform preventive maintenance to replace steel rollers with Teflon wheels, oil the handle, and tighten the bolts. Have a professional adjust the torsion spring for optimum performance.
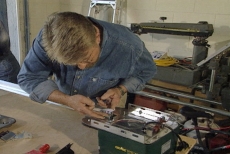
Attach the First Piece of Track to the Drive Unit
Lay out the parts and sections of rail/track and attach the first rail to the drive unit where the motor is housed. Bolt the remaining sections of rail together so the assembly enables movement of the carriage/traveler along the track.
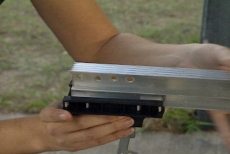
Slip the Carriage into the Channel beneath the Track
Slide the carriage (traveler) into the bottom channel on the track. Ultimately, the carriage will connect to the door and be pulled along the track by a drive chain that enables the motor to raise and lower the door.
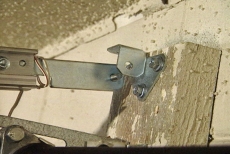
Join the Track to the Header above the Garage Door
Bolt a bracket to the end of the track and then to the header/beam above the garage door. Have a coworker support the weight of the drive unit and hold it parallel to the floor while the bracket is secured.
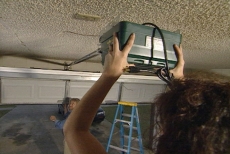
Open the Garage Door to Support the Drive Unit Assembly
Open the garage door fully and rest the weight of the drive unit and track on top temporarily for support until you are ready to mount the drive unit to the ceiling joist in a later step.
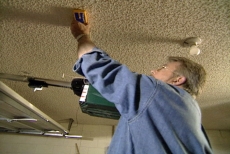
Locate the Ceiling Joists with an Electronic Stud Finder
Use an electronic stud finder to locate the ceiling joists at the location where you will mount the drive assembly. The assembly is heavy and will require attachment directly to a joist for proper support of its weight.
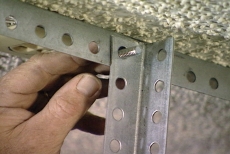
Secure a Perforated Angle Iron to the Joist
Position a piece of perforated angle iron along the ceiling joist and secure it with lag screws. Attach two short vertical pieces of angle iron to the drive unit and bolt them to the piece mounted to the ceiling joist.
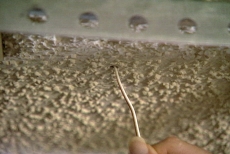
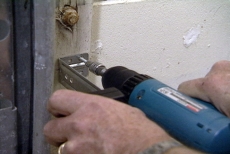
Feed the Switch Wire through the Ceiling to the Wall
Feed the switch wire from the drive assembly through a hole punched in the ceiling and across the attic floor. Punch a second hole at the wall and fish the wire through and attach it to the wall-mounted switch.
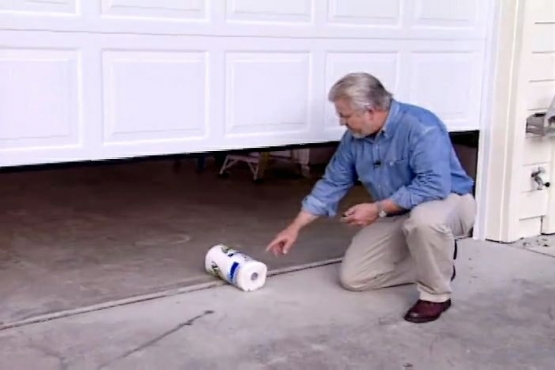
Mount the Infrared Beam Sensors 6-Inches from the Floor
Mount the infrared beam sensors on either side of the garage door about 6-inches off the floor. Run the wire from the sensors back up to the motor per instructions provided with the garage door opener kit.
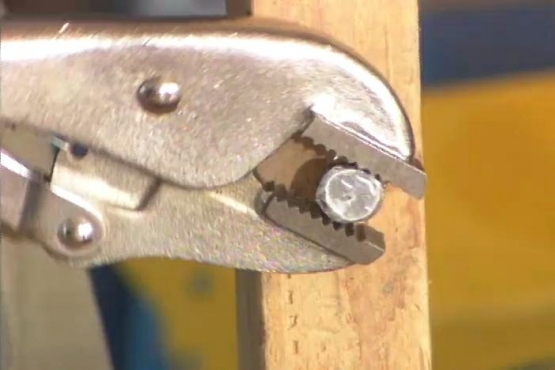
Attach the Garage Door Opener to the Garage Door
Connect the garage door opener to the door with a heavy-duty reinforcing bracket and the L-shaped metal arm that overlaps the arm from the carriage. Secure them with the special pins inserted into the predrilled holes.

Power on and Test the Garage Door Opener
Switch on power to the garage door opener and test the remote controls, the manual switch in the garage, the infrared sensors, and the actual operation of the garage door opener.
Related Tips
Blog Articles

Maximize Your Yield with DIY Netting for Strawberry Beds
Keep your strawberries safe from pests with our DIY strawberry cage netting solution. Learn how to create sturdy frames and find the best netting for your strawberry plants.

Change It Up: Swapping Out Your Light Switch Plates
Tired of boring light switch covers? Upgrade your home decor with this simple guide on replacing light switch plates and make a statement in every room.

Revamp Your Outdoor Space: How To Stencil A Concrete Patio
Learn how to create a stunning patterned concrete patio with our easy-to-follow instructions for stenciling. Upgrade your outdoor space in no time.


