How to Refinish Kitchen Cabinets Without Stripping
Why Refinish Kitchen Cabinets Without Stripping?
If the kitchen is the most-used room in the house, then you can probably say that the kitchen cabinets are the most-used thing in that room. With time and repeated cleanings, they can end up looking pretty shabby. If it's not time to replace or reface them yet, then you might want to consider refurbishing them with a combination coating and stain. Refinishing kitchen cabinets without stripping allows you to preserve the natural beauty of the wood while still allowing you to update the color and appearance of your cabinets.
Benefits of Using a Combination Coating and Stain
Using a combination coating and stain can transform your kitchen cabinets in more ways than one. It not only adds a rich and lustrous finish to the wood, but also provides protection against scratches, moisture, and heat. The combination of coating and stain allows for a seamless and durable result that will withstand the daily wear and tear of a busy kitchen.
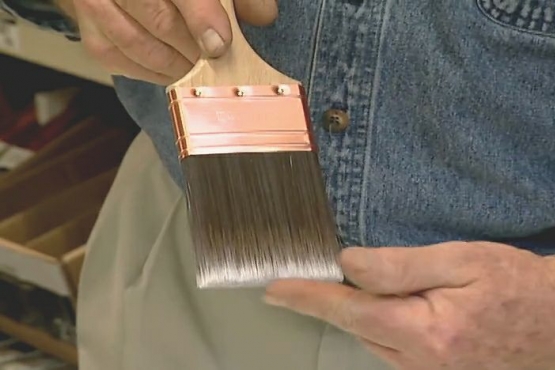
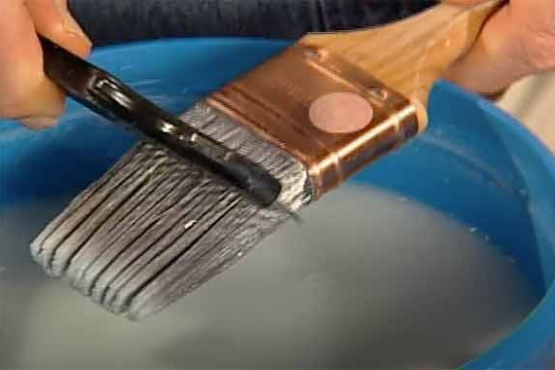
When it comes to applying a top coat whether it's varnish, shellac or polyurethane like this, always try to use a good quality brush with plenty of fine bristles that are securely attached – because nothing is more annoying, especially with a combination stain and top coat than having to pick out bristles that have conspicuously displayed themselves in a newly laid down finish. Also, you’ll want to finish off with long, straight parallel strokes in one direction, a technique painters call, striking off.
Tools and Materials Needed for the Refinishing Process
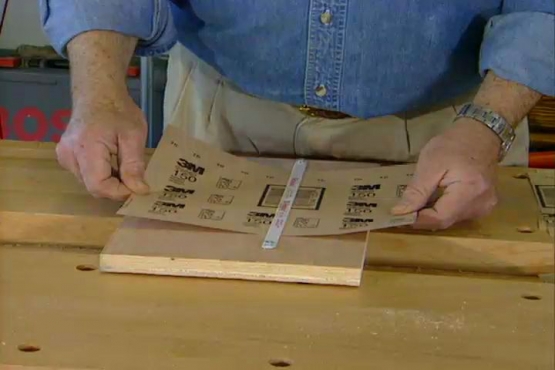
To successfully refinish your kitchen cabinets, you will need a few essential tools and materials. These include sandpaper for smoothing the surfaces, a quality stain and polyurethane product, felt tip furniture pen for touch-ups, brushes for applying stain, clean rags for wiping off excess stain, and a drop cloth or plastic sheeting to protect your kitchen surfaces.
Letting it Dry and Curing
After applying the protective coating, allow your kitchen cabinets to dry completely. This may take several hours or even overnight depending on the product you're using. It's important to follow the manufacturer's instructions for drying
Marvel at Your Refinished Cabinets
Not only does the refinished cabinets bring a fresh and updated look to your kitchen, but investing in your kitchen can add value to your home. The cabinets play a significant role in the overall aesthetics of the space, so by refinishing them, you've given your kitchen a whole new lease on life. Now you can enjoy cooking and entertaining in a space that feels updated!
Related Tips

Blog Articles

Maximize Your Yield with DIY Netting for Strawberry Beds
Keep your strawberries safe from pests with our DIY strawberry cage netting solution. Learn how to create sturdy frames and find the best netting for your strawberry plants.

Change It Up: Swapping Out Your Light Switch Plates
Tired of boring light switch covers? Upgrade your home decor with this simple guide on replacing light switch plates and make a statement in every room.

Revamp Your Outdoor Space: How To Stencil A Concrete Patio
Learn how to create a stunning patterned concrete patio with our easy-to-follow instructions for stenciling. Upgrade your outdoor space in no time.


