How to Install Tiles on a Kitchen Countertop - DIY
Cut and Lay Attractive Ceramic Tile to Replace an Outdated Kitchen Countertop and Backsplash to Modernize Your Kitchen
Replace an old countertop and backsplash with a durable and attractive ceramic tile motif in an updated color. Remove the sink and the old countertop, and then learn how to build a new foundation or underlayment for the new tile counter and how to cut, set, and grout the tile.

Disconnect the Plumbing and Water and Remove the Sink
Turn off the water supply beneath the sink. Disconnect the hoses and drain before lifting the sink out of the countertop. Remove screws beneath the countertop that hold it to the cabinet, and then lift it and carry it away.

Cut a New Countertop Base from 3/4-Inch Plywood
Mark the dimensions for the new countertop on 3/4-inch plywood. Clamp a metal straight edge along the mark and cut the base panel out with a circular saw.

Position the Plywood Countertop and Screw It to the Cabinet
Place the base for the countertop on the cabinets and secure it with screws to the top of the cabinet.
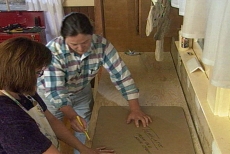
Trace a Template of the Sink and Cut a Hole in the Plywood
Make a cardboard template of the sink and center it in the countertop above the cabinet doors. Trace the outline of the template and cut the opening with a jigsaw. Attach temporary supports to stop the cut piece from falling.
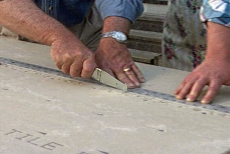
Cut Concrete Board to Match the Countertop and Sink Opening
Cut backer-board to match the countertop. Score along the cut line and break the board. Cut the sink opening with a spiral cutting saw and masonry bit.

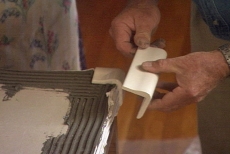
Apply Thin-t Mortar to the Plywood and Secure the Backer-board
Use the notched edge of a trowel to apply fast-drying thinset mortar to the plywood in 1/4-inch ridges. Set the backer-board in place and secure it with galvanized nails.

Position Tiles without Mortar to Determine the Best Spacing
Arrange two rows of tiles in a staggered bond along the edge of the counter in a balanced design that requires the fewest cuts. Be sure to allow space that represents the grout seam between the tiles.
Use Two Different Types of Adhesive to Allow for Expansion
Apply flexible tile mastic to the countertop's sides and thin-set mortar on its top to prevent the edge tile from cracking. Set the edge tile first, then set the whole field tiles, using vinyl spacers to position the tiles uniformly.
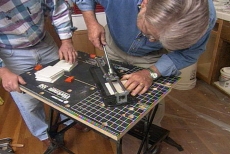
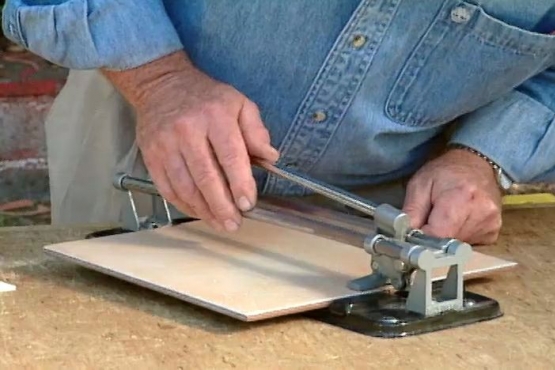
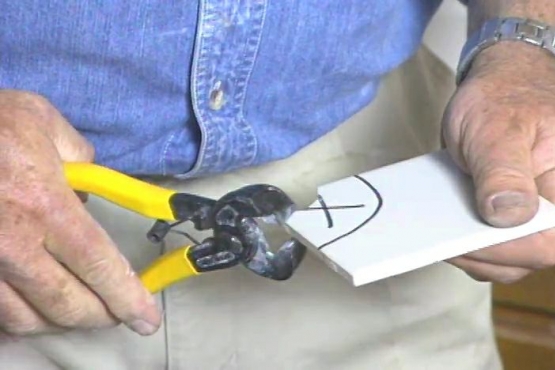
Measure and Cut Tiles to Fit the Sink and Edges
Score tiles with a scoring tile cutter along measured cut-lines, pressing down on the handle to break the tile. Butter the cut-tile backs with mortar and set them in position. Use mastic to set the backsplash tiles.
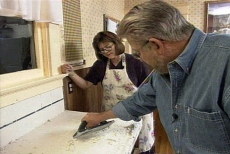
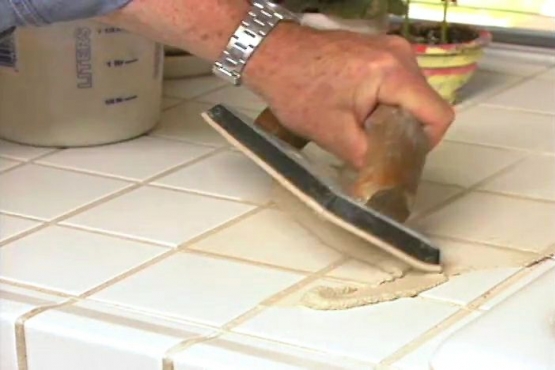
Grout the Tile Work after Three Hours of Drying Time
Distribute grout across the tile and press it firmly into each joint using a rubber float. Rake off excess diagonally across the tiles. Clean the face of the tile with a damp sponge, rinsing frequently. Polish with a paper towel.
Related Tips


Blog Articles

Maximize Your Yield with DIY Netting for Strawberry Beds
Keep your strawberries safe from pests with our DIY strawberry cage netting solution. Learn how to create sturdy frames and find the best netting for your strawberry plants.

Change It Up: Swapping Out Your Light Switch Plates
Tired of boring light switch covers? Upgrade your home decor with this simple guide on replacing light switch plates and make a statement in every room.

Revamp Your Outdoor Space: How To Stencil A Concrete Patio
Learn how to create a stunning patterned concrete patio with our easy-to-follow instructions for stenciling. Upgrade your outdoor space in no time.


