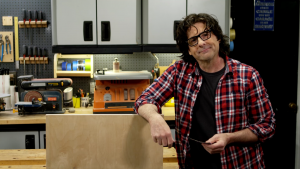
Well, it's time to turn my attention to my workshop floor down here. Now I want to put a covering down that resists spills, is easy to maintain, is comfortable to walk and stand on and quite frankly, looks cool. And you know, what -- I think I've come up with the perfect material.
I found it on line during a search for garage floor coverings. It looked like it would give me just what I wanted, so I headed over to my local home improvement center and picked up a couple of rolls.
[MUSIC]
This is a rollout vinyl floor covering called G4 from Better Life Technology. Now what I really like about this is it doesn't have to be glued down. It simply rolls out and lies there. Now it can go on top of a subfloor like this or directly on top of concrete.
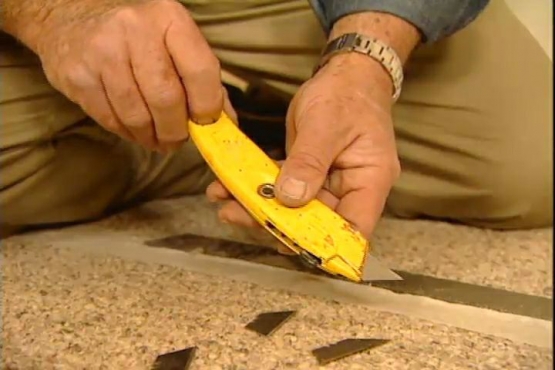
And the installation, well, it's pretty simple. I cut the flooring over size and run it up the wall a few inches, then drop a piece of plywood behind and cut off most of the excess. The plywood helps keep my blade from dulling so quickly.
Because it's cold today, I'm warming the vinyl with a heat gun to make it more pliable. Then, with a wide putty knife, I push the floor covering into the corner, cut it to fit, using the putty knife as a straight edge.
To fit the corners, I first make a vertical slice, then use the putty knife to press the flooring into place and complete the cut. With the first roll in place, I roll out the second. Now the edges of each roll can either be overlapped or butted, edge to edge. I'm going to butt them because I want as smooth a surface as possible.
So step one, I'll take a carpenter's pencil, drop it right in here in the seam and draw a line. The pencil will mark the exact center of the seam. Next, I roll back one edge and hold it in place with a piece of masking tape every few feet. Then repeat the process on the other side.
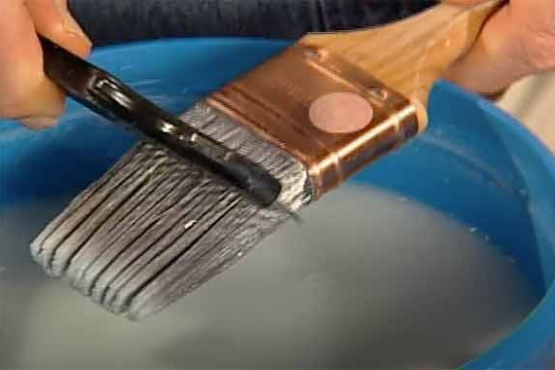
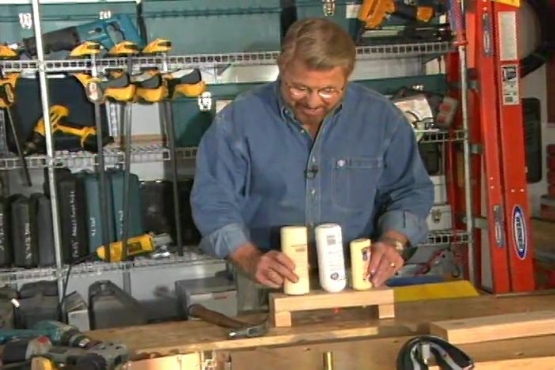
Now, I roll out a vinyl seaming strip the full length of the floor, using the center line I drew earlier as a guide. I'll be using this liner adhesive to glue the strip to the underside of the flooring. Now this will go faster if I use a brush, rather than the applicator on the lid. First I'll apply the material to the strip -- and then to the edges of the sheets. After waiting a few minutes for the adhesive to set, it's time to unroll the edges and press them into contact with the seaming strip.
Now, even though I've thoroughly attached the edges to each other, I have not glued the vinyl sheets to the flooring below. In effect, it remains a floating floor. The process is the same for the third and final strip of flooring.
Oh sure, this floor is practical, but the seamless look, the rugged diamond plate pattern and the gunmetal gray color coordinate handsomely with my cabinets and pegboard. There's a powerful, yet subtle tension between textures and an engaging interplay between the metallic and vinyl influences.
Okay, maybe I'm going a bit far but there's nothing wrong with having a shop that is as good looking as it is functional.
