How to Put Down a Wood Floor That’s Pre-Finished
Install Durable and Warranted Pre-finished Hardwood Flooring in Your Kitchen Using Tongue and Groove Joinery for Row-by-row Construction
Think again if you imagine a pre-finished hardware flooring installation is not durable enough to withstand kitchen traffic, children's toys and pets. Today's pre-finished hardwood flooring systems may offer 25-year finish warranties and lifetime structural warranties--not to mention tools, techniques and interlocking tongue and groove joinery that make DIY installation a snap.
Read More
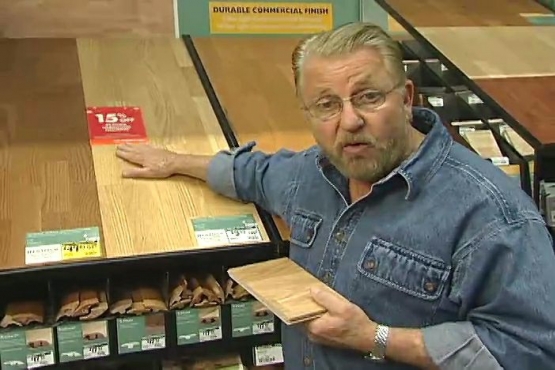
Research Available Pre-finished Hardwood Flooring Systems on the Internet
Investigate pre-finished hardwood flooring products on the Internet and at your home improvement store before deciding for or against its use in the kitchen. Many manufacturers offer long-term warranties according to the pricing and quality rating of their products.
Prepare Yourself, Your Tools and Your Kitchen to Control Dust
Lift wooden thresholds prior to sealing kitchen doorways and cabinetry with plastic and tape to control dust. Position a fan to draw dust out the open window. Wear a dust mask and install a vacuum bag on your circular saw.
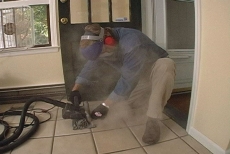
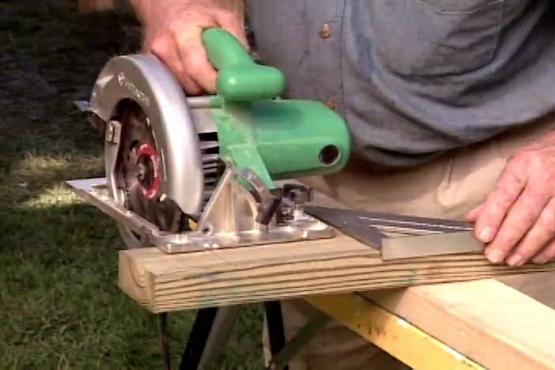
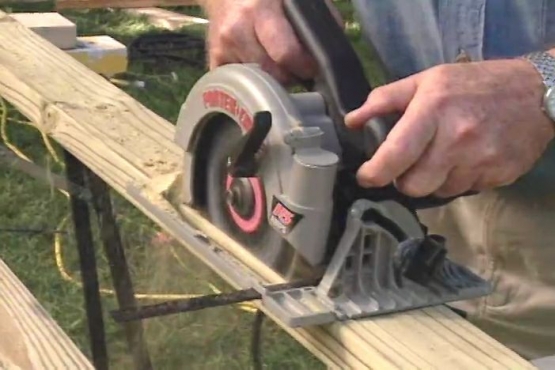
Cut Tile Grout Seams and Underlayment with Circular Saw
Cut tile grout seams with a diamond-tipped blade intended for cutting stone and masonry. Adjust the saw blade depth to cut only through grout and the first wooden under layer. Pry up the plywood underlayment, removing it with the tiles.
Store the Hardwood Flooring in the Kitchen for Several Days
Open and store the pre-finished hardwood flooring in the kitchen three to four days before beginning the installation. The product should acclimate to the same temperature and moisture content as the subfloor in the environment where you will install it.
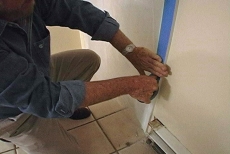
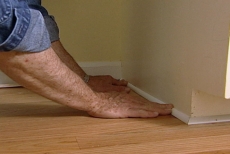
Start Installing the Pre-Finished Hardwood Flooring at an Exterior Wall
Snap a chalk line about 3 inches from as exterior wall--that is the width of the plank plus a 1/2 inch expansion gap. Align the plank on the chalk line and nail it along the outer edge.
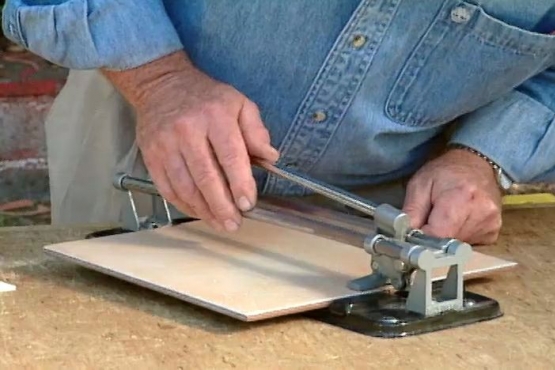
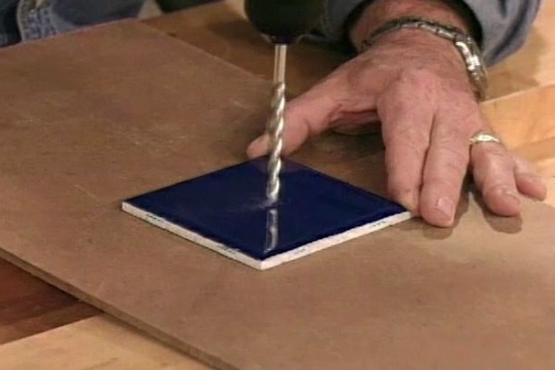
Notch around Obstacles and Interlock Planks at the Ends
Mark cut lines on planks in correct locations and dimensions of obstacles such as pipes and air vents. Notch along the cut lines with a jigsaw. Fit planks together with interlocking tongue and groove joints.
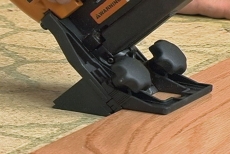
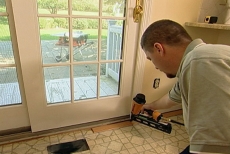
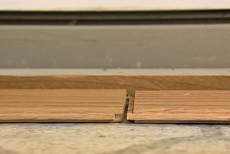
Using a Special Hardwood Flooring Stapler on the Remaining Rows
Fit the groove of the next pre-finished hardwood flooring plank over the tongue portion of the previous row. Secure it with a special stapler that positions itself against the tongue edge to drive in a staple at the correct angle.
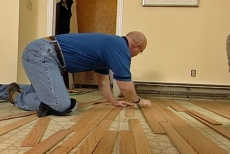
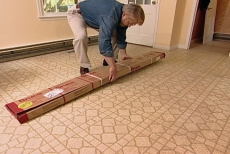
Stagger Planks with obvious Grain Patterns and Colors
Remove all planks from their cartons and lay them out on the floor to mix their colors and grain patterns prior to installation. Stagger planks with noticeable variations so they blend rather than standing out in an eye-catching group.
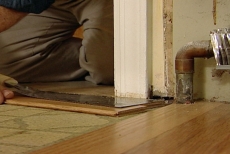
Undercut Door Casings and Install the Planks underneath
Undercut door casings enough to install the planks underneath. Rest a side saw on a scrap hardwood plank to achieve the correct elevation and cut away the casing. Notch the planks to be installed, slide them beneath and secure them.
Install Strips of Quarter-round Molding over the Expansion Gap
Install or reinstall strips of quarter-round molding along the floor at the bottom of the cabinets and baseboards when the pre-finished hardwood flooring installation is complete. The molding will hide the expansion gap left around the perimeter.
Related Tips


Blog Articles

Expert Tips: How to Mount a TV on the Wall
Get step-by-step instructions on how to mount a TV on the wall, especially for big screen TVs. Master the art of wall mounting with our tips.

Frustrated by Stripped Screws? Here’s How to Get Them Out Fast
We've all been there. You're in the middle of a project, and suddenly your screwdriver spins uselessly in the screw head. The screw is stripped, and frustration sets in. With a little know-how and this simple trick, you can tackle a stripped screw and get your project back on track.

The Secret to Finishing Plywood Edges
Plywood projects are fantastic, but exposed edges can be an eyesore. This blog post unveils the magic of edge banding - a simple technique to create flawless, finished edges on your plywood projects, making them look professional and ready for paint or stain. Watch the video to learn how to apply edge banding like a pro!


