Painting Kitchen Cabinets – An Easy Guide to Repainting Cabinets
How to Paint Existing Kitchen Cabinets Using a Low Pressure Spray System.
Bring new life to your existing kitchen cabinets with a fresh coat of paint. Save the time, expense and hassle of a full kitchen remodel and give your cooking and storage space a clean new feel. With a few tips about how to best prepare the surface, you'll be on your way to a kitchen that you are proud to entertain in.
Read More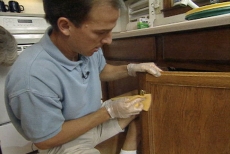
Clean the Cabinets
In order for the primer and paint to form a tight bond with the cabinet surface, you'll have to make sure that all existing grease and food residue is removed. Even the cleanest kitchen will build up a thin film of grease over time, so use TSP or a similar cleaner to gently wash all of the surfaces that are to be painted over.

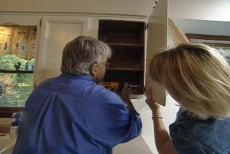
Remove Doors, Drawers, and Hardware
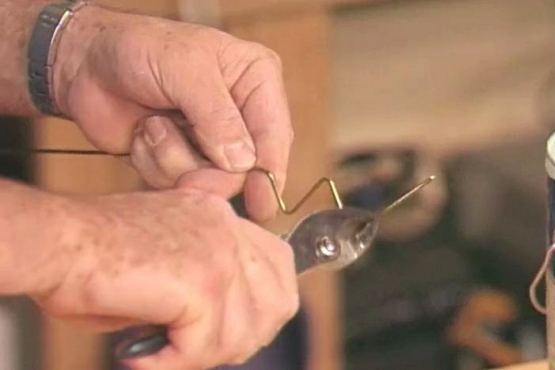
In order to have a paint job that looks professional, you'll need to take the time to compeletely remove all of the hardware. Don't skimp on this step just to save a little time. You will be much happier with the results when all of the hardware is crisp and clean against the newly painted cabinet doors and drawer faces. If you don't have a screw gun or drill, a simple screwdriver will suffice.
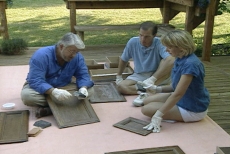
Lightly Sand the Flat Surfaces
Once the doors are clean and the hardware has been removed you will need to lightly sand the flat surfaces. Use a light sand paper, or better yet, a lightly grained sanding sponge to work the nooks and crannies of the doors. This light sanding pass will help create a porous surface for the the primer and paint to stick to. Once the sanding is done, use a tack cloth to wipe clean any loose dust that may remain.
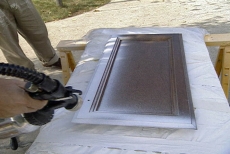
Prime the Cabinet Doors with a Sprayer
Using a high volume, low pressure sprayer is the easiest way to ensure a professional looking finish. Not only does this tool save time, but it minimizes the number of brush and roller strokes that you will have to contend with in your final project. When spraying, start on the outside edges of the doors, and work your way to the middle.
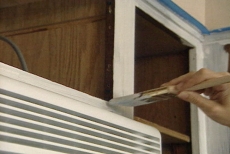
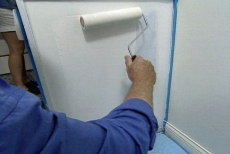
Prep and Prime the Wall and Base Units
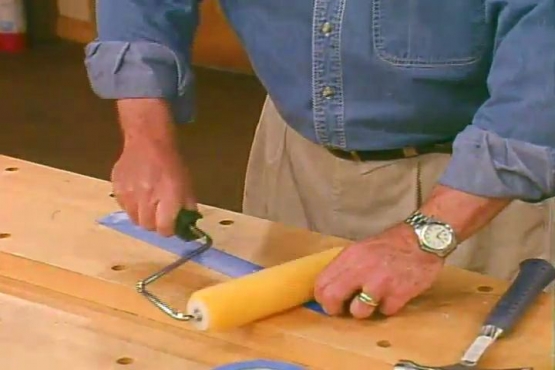
Unless you want to go through the tedious task of masking off your entire kitchen, the base and wall cabinets will have to be primed and painted by hand. Make sure that you have a 2" sash brush and a small roller on hand so that you can create the high quality finish that you want. Start by taping any areas where you are concerned about errant brush strokes, and then apply an even coat of primer using the brush and the roller.
Apply the Topcoat
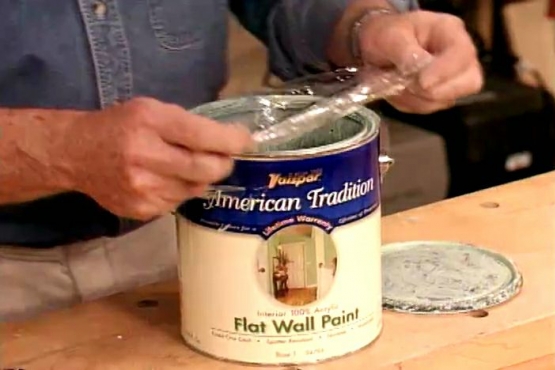
For this project, Ron is using a specially formulated paint that resists the oil and dirt from people's fingers. This will help the durability of the paint, since on cabinets people touch them all of the time. Repeat the steps from priming the base and wall cabinets with the topcoat. When you are ready to spray the doors and drawer fronts outside, you may find it necessary to thin the topcoat slightly just to help it spray evenly. This can be done with water. Be careful to apply just the amount of paint necessary and not any extra. If you apply to much, it will run or sag.
Reinstall the Hardware and Doors
After the paint has had a chance to dry and harden completely (usually 24 hours or so) you can screw the hardware back into place. Just use the same holes that you took them out of originally so that they fit back into place quickly and easily. Slide the drawers back into their runners, taking care not to scratch the freshly painted face frames on the base cabinets.
Related Tips

Blog Articles

Expert Tips: How to Mount a TV on the Wall
Get step-by-step instructions on how to mount a TV on the wall, especially for big screen TVs. Master the art of wall mounting with our tips.

Frustrated by Stripped Screws? Here’s How to Get Them Out Fast
We've all been there. You're in the middle of a project, and suddenly your screwdriver spins uselessly in the screw head. The screw is stripped, and frustration sets in. With a little know-how and this simple trick, you can tackle a stripped screw and get your project back on track.

The Secret to Finishing Plywood Edges
Plywood projects are fantastic, but exposed edges can be an eyesore. This blog post unveils the magic of edge banding - a simple technique to create flawless, finished edges on your plywood projects, making them look professional and ready for paint or stain. Watch the video to learn how to apply edge banding like a pro!


