How to Build a Window Box
Build a Full-length Treated-lumber Window Box Planter to Add a Little Window Dressing to an Eye-catching Window
Build a window box planter gauged to compliment your home and the window sill dimensions. Container gardening of any size and shape lends a little eye-candy to a house and a little green to the environment. Coats of paint can color-coordinate it with the house, while an interior layer of roofing compound will extend the life of the pressure-treated lumber.
Read More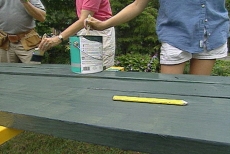
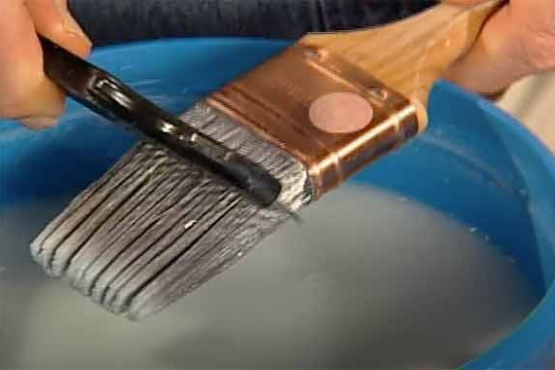
Paint Treated-lumber Planks for the Window Box
Save time by pre-painting the planks for the window box: a two-by-eight, 2 one-by-sixes, and a shorter one-by-six to cut for the ends. The wood is all treated lumber, but is being dressed to coordinate with the existing house trim.
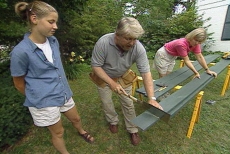
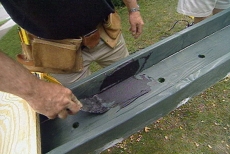
Measure and Cut End Pieces for the Window Box
Measure and mark the shortest plank for two rectangular end pieces for the window box. Their length will match the width of the large bottom plank. Cut with any saw that makes a straight cut, such as a Japanese handsaw.
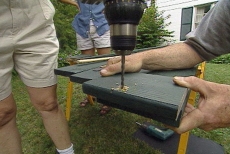
Pre-drill Pilot Holes and Secure Ends to Window Box Bottom
Drill three countersunk pilot holes at the lower edge of both end pieces for the window box. Pre-drilling prevents the wood from splitting. Secure both ends to the bottom of the container with rust-proof screws.

Add Construction Adhesive to the Window Box Edges
Confirm the front and back fit and pre-drill countersunk pilot holes on their bottom edges. Add a bead of construction adhesive and then position the components individually on the window box planter assembly.
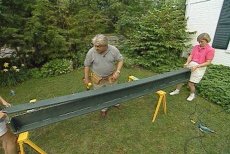
Secure the Window Box's Front and Back with Rust-proof Screws
Drive 2.5 inch rust-proof screws into the pilot holes to secure the front and sides of the window box to the bottom. Fill around the screw heads with exterior-grade spackling compound and a putty knife. Let it dry overnight.
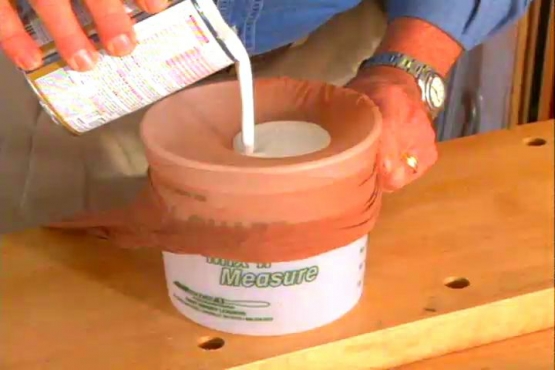
Waterproof the Interior of the Window Box with Roofing Compound
Sand lightly to smooth the window box. Drill drainage holes in the window box bottom. Apply roofing compound to the interior with a putty knife, and then cover the holes with landscape fabric to prevent soil from washing out.

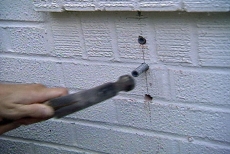
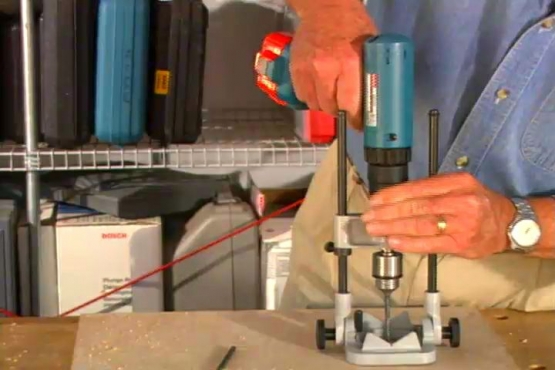
Drill Holes for Angle Brackets to Support the Window Box
Mark bracket locations under the sill to evenly support window box weight. Use a bar level to ensure that the holes are level. Drill holes in the masonry with a .5 inch carbide-tipped bit on an electric hammer drill.
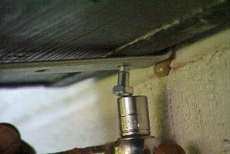
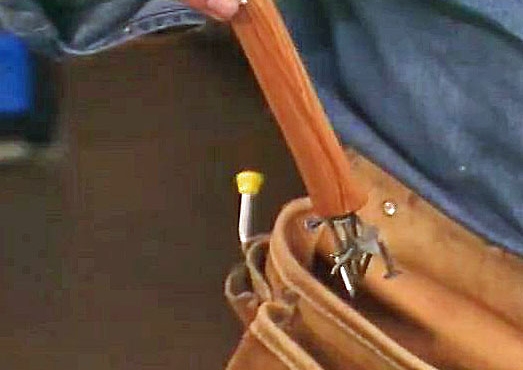
Mount the Window Box Brackets with Lag Screws
Hammer lag shields/lead anchors into the holes for the window box brackets. They should be flush with the wall. Mount the L-brackets with 2-inch lag screws, tightening them snugly with a socket wrench.
Position and Secure the Window Box with Additional Lag Screws
Center the window box planter on the mounting brackets under the sill. Secure the box to the brackets with additional lag screws underneath the planter. Tighten the lag screws with a socket wrench.
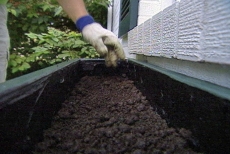
Fill the Window Box Planter with Potting Soil and Plants
Add potting soil to the window box in a generous layer. Position plants and fill in around them with more soil to cover the roots and anchor them in the planter. Finish your container garden by watering the plants.
Related Tips


Blog Articles

Expert Tips: How to Mount a TV on the Wall
Get step-by-step instructions on how to mount a TV on the wall, especially for big screen TVs. Master the art of wall mounting with our tips.

Frustrated by Stripped Screws? Here’s How to Get Them Out Fast
We've all been there. You're in the middle of a project, and suddenly your screwdriver spins uselessly in the screw head. The screw is stripped, and frustration sets in. With a little know-how and this simple trick, you can tackle a stripped screw and get your project back on track.

The Secret to Finishing Plywood Edges
Plywood projects are fantastic, but exposed edges can be an eyesore. This blog post unveils the magic of edge banding - a simple technique to create flawless, finished edges on your plywood projects, making them look professional and ready for paint or stain. Watch the video to learn how to apply edge banding like a pro!


